


")

")


 to Girne (Kıbrıs)")


")
 After One Year in Mauritius")


1468 grams.
That’s the combined weight of all my photo and video equipment, accompanying me on every journey.
It’s a concise kit, with just three items:
- iPhone 14 Pro
- Smartphone Tripod
- DJI Mini Pro 3 (Drone)
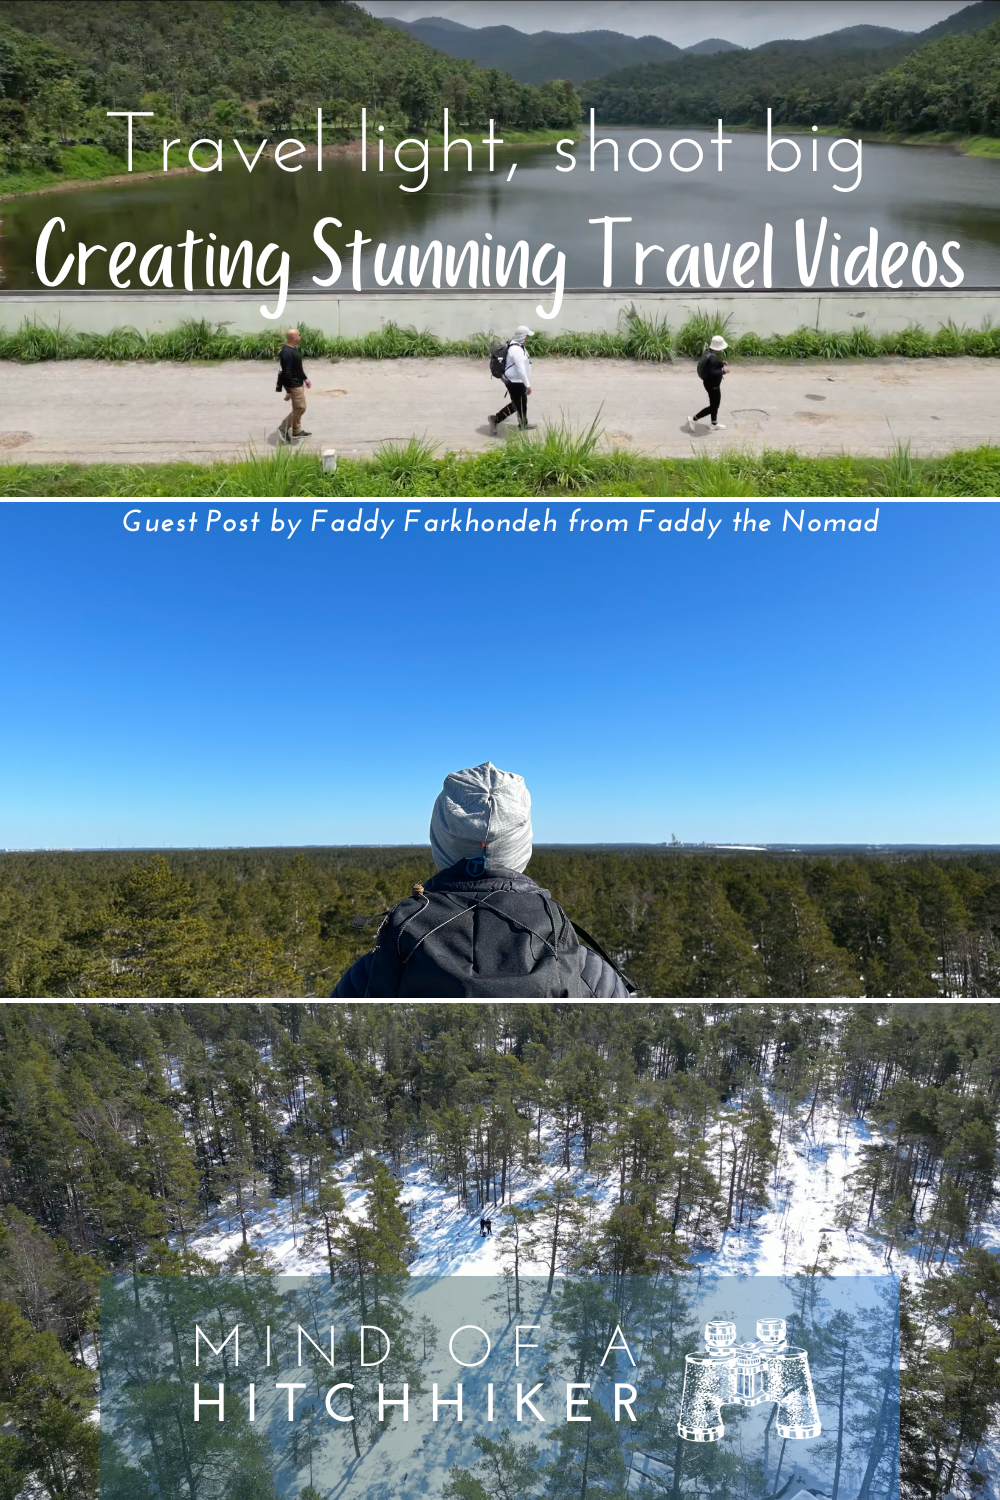
I use them to shoot videos like these:
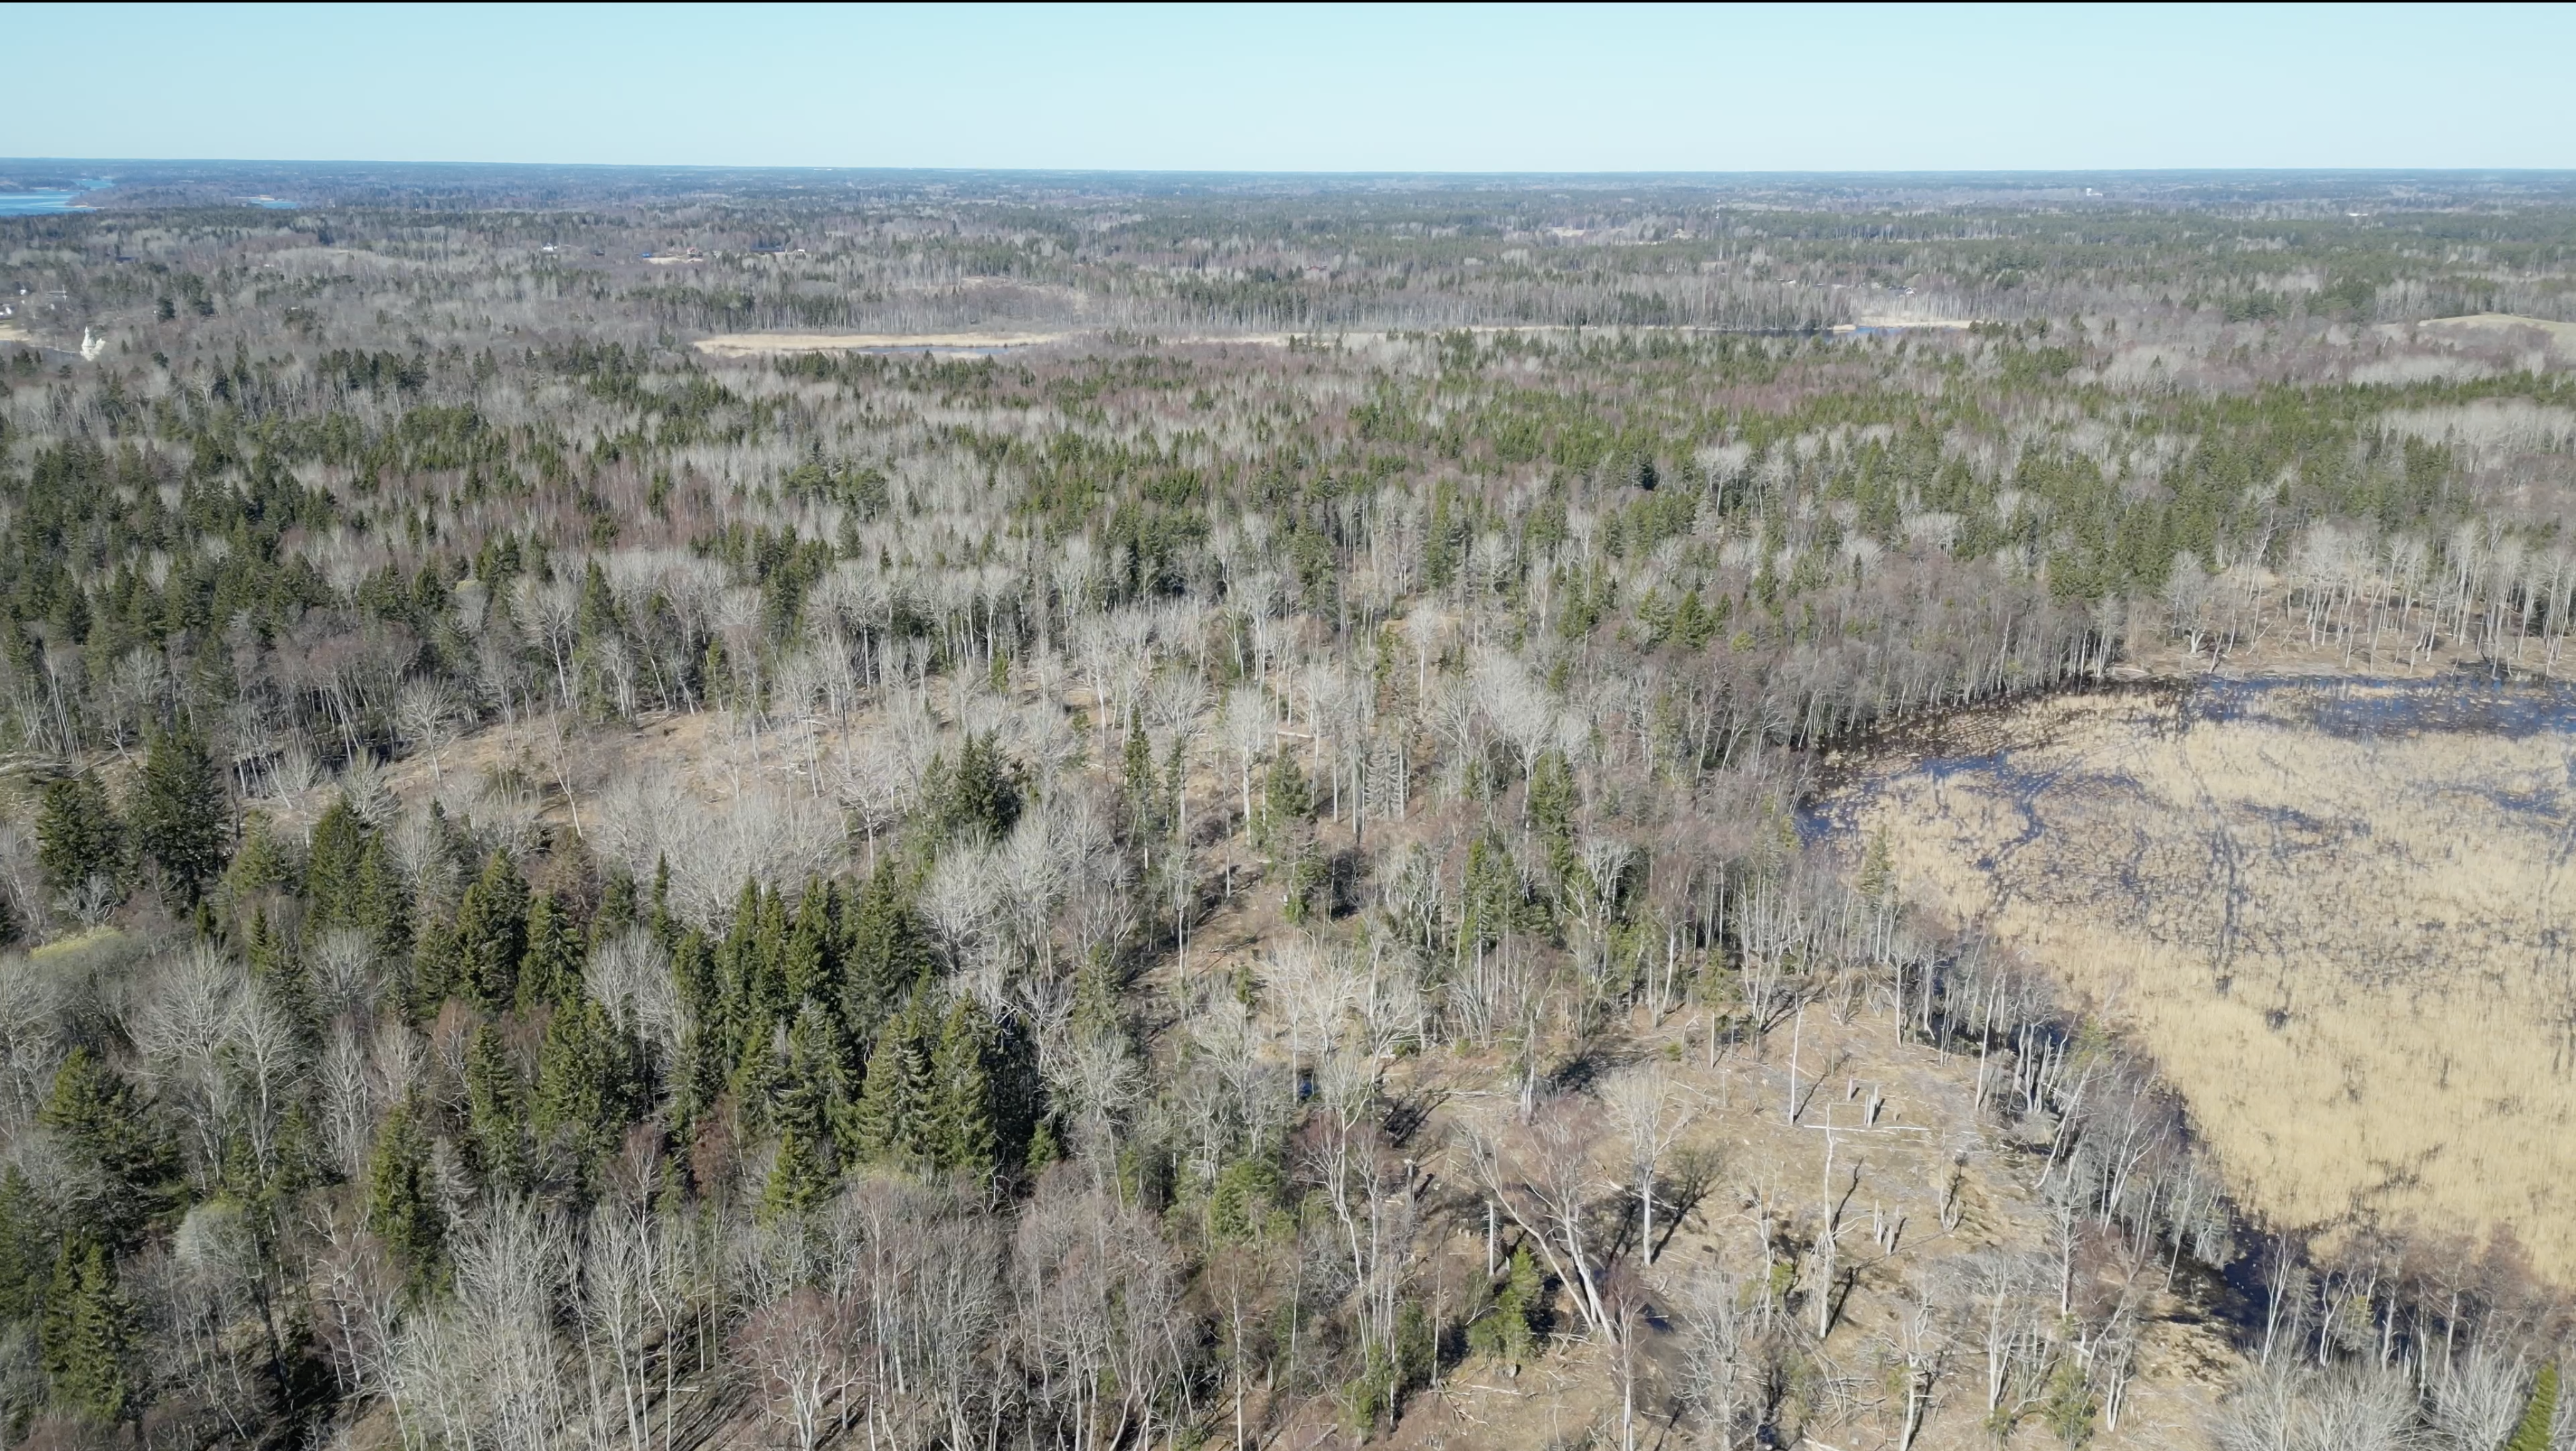
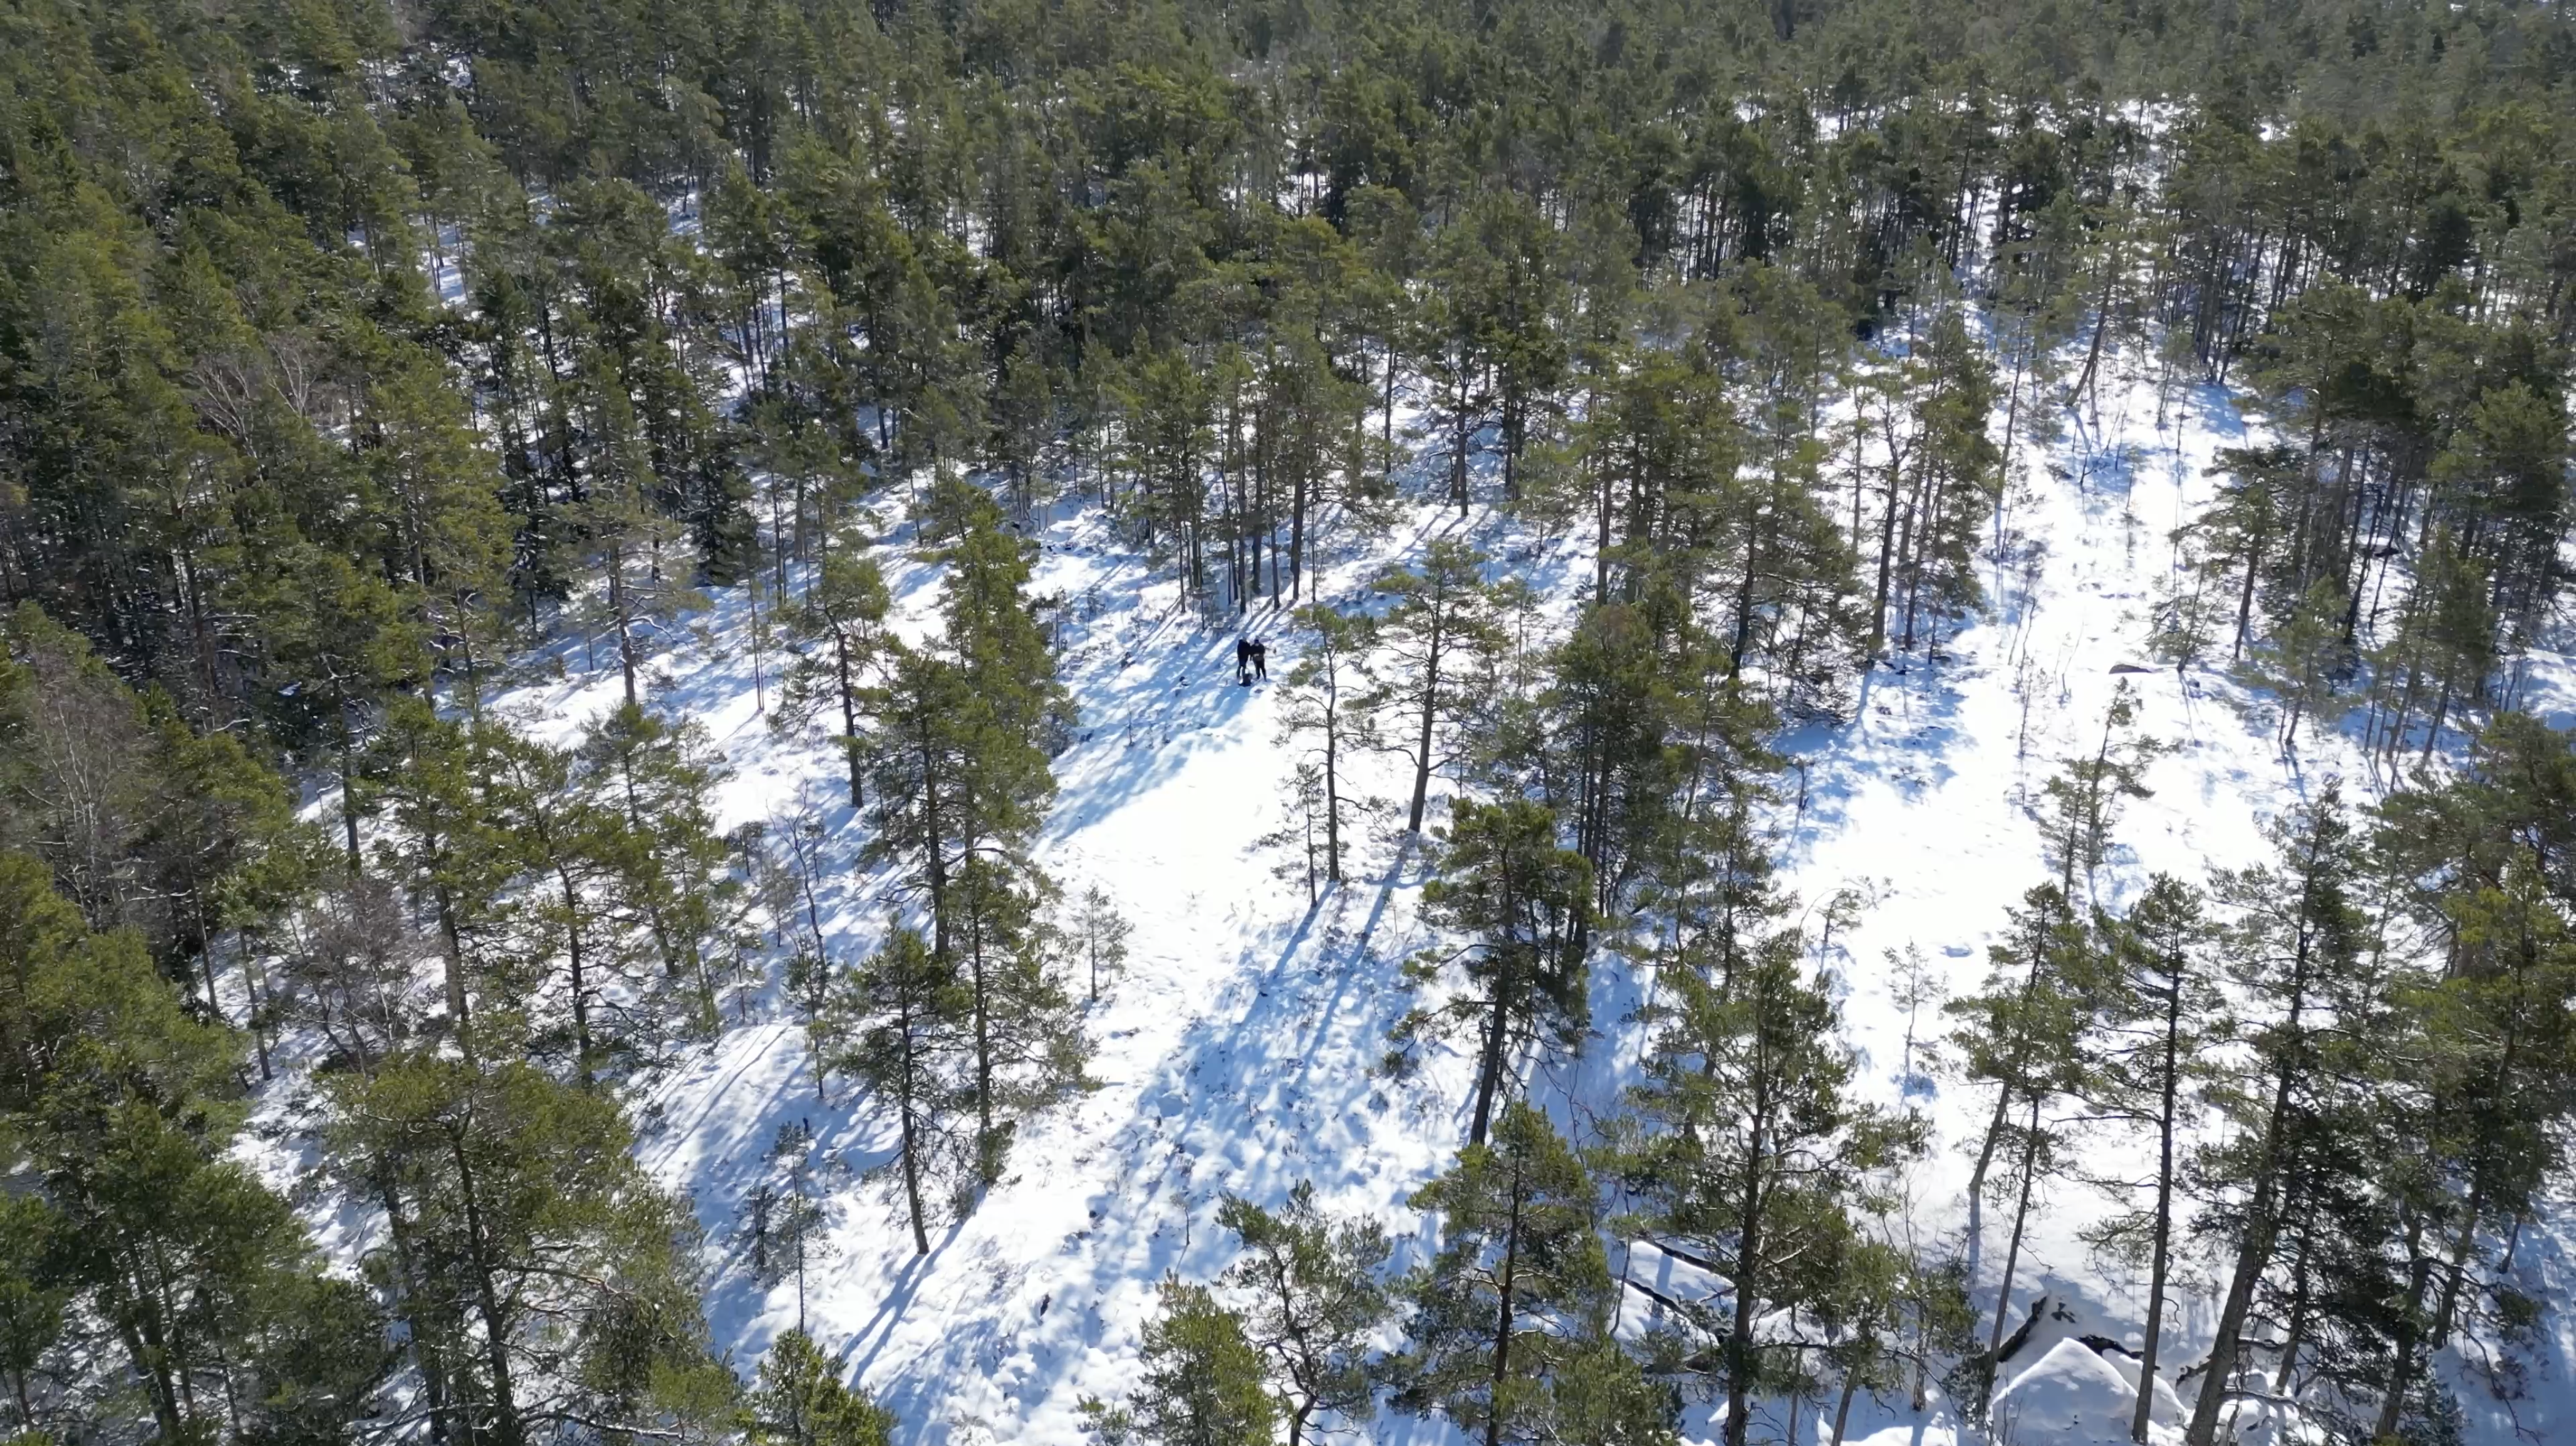
Riddersholm, Stockholm, Sweden

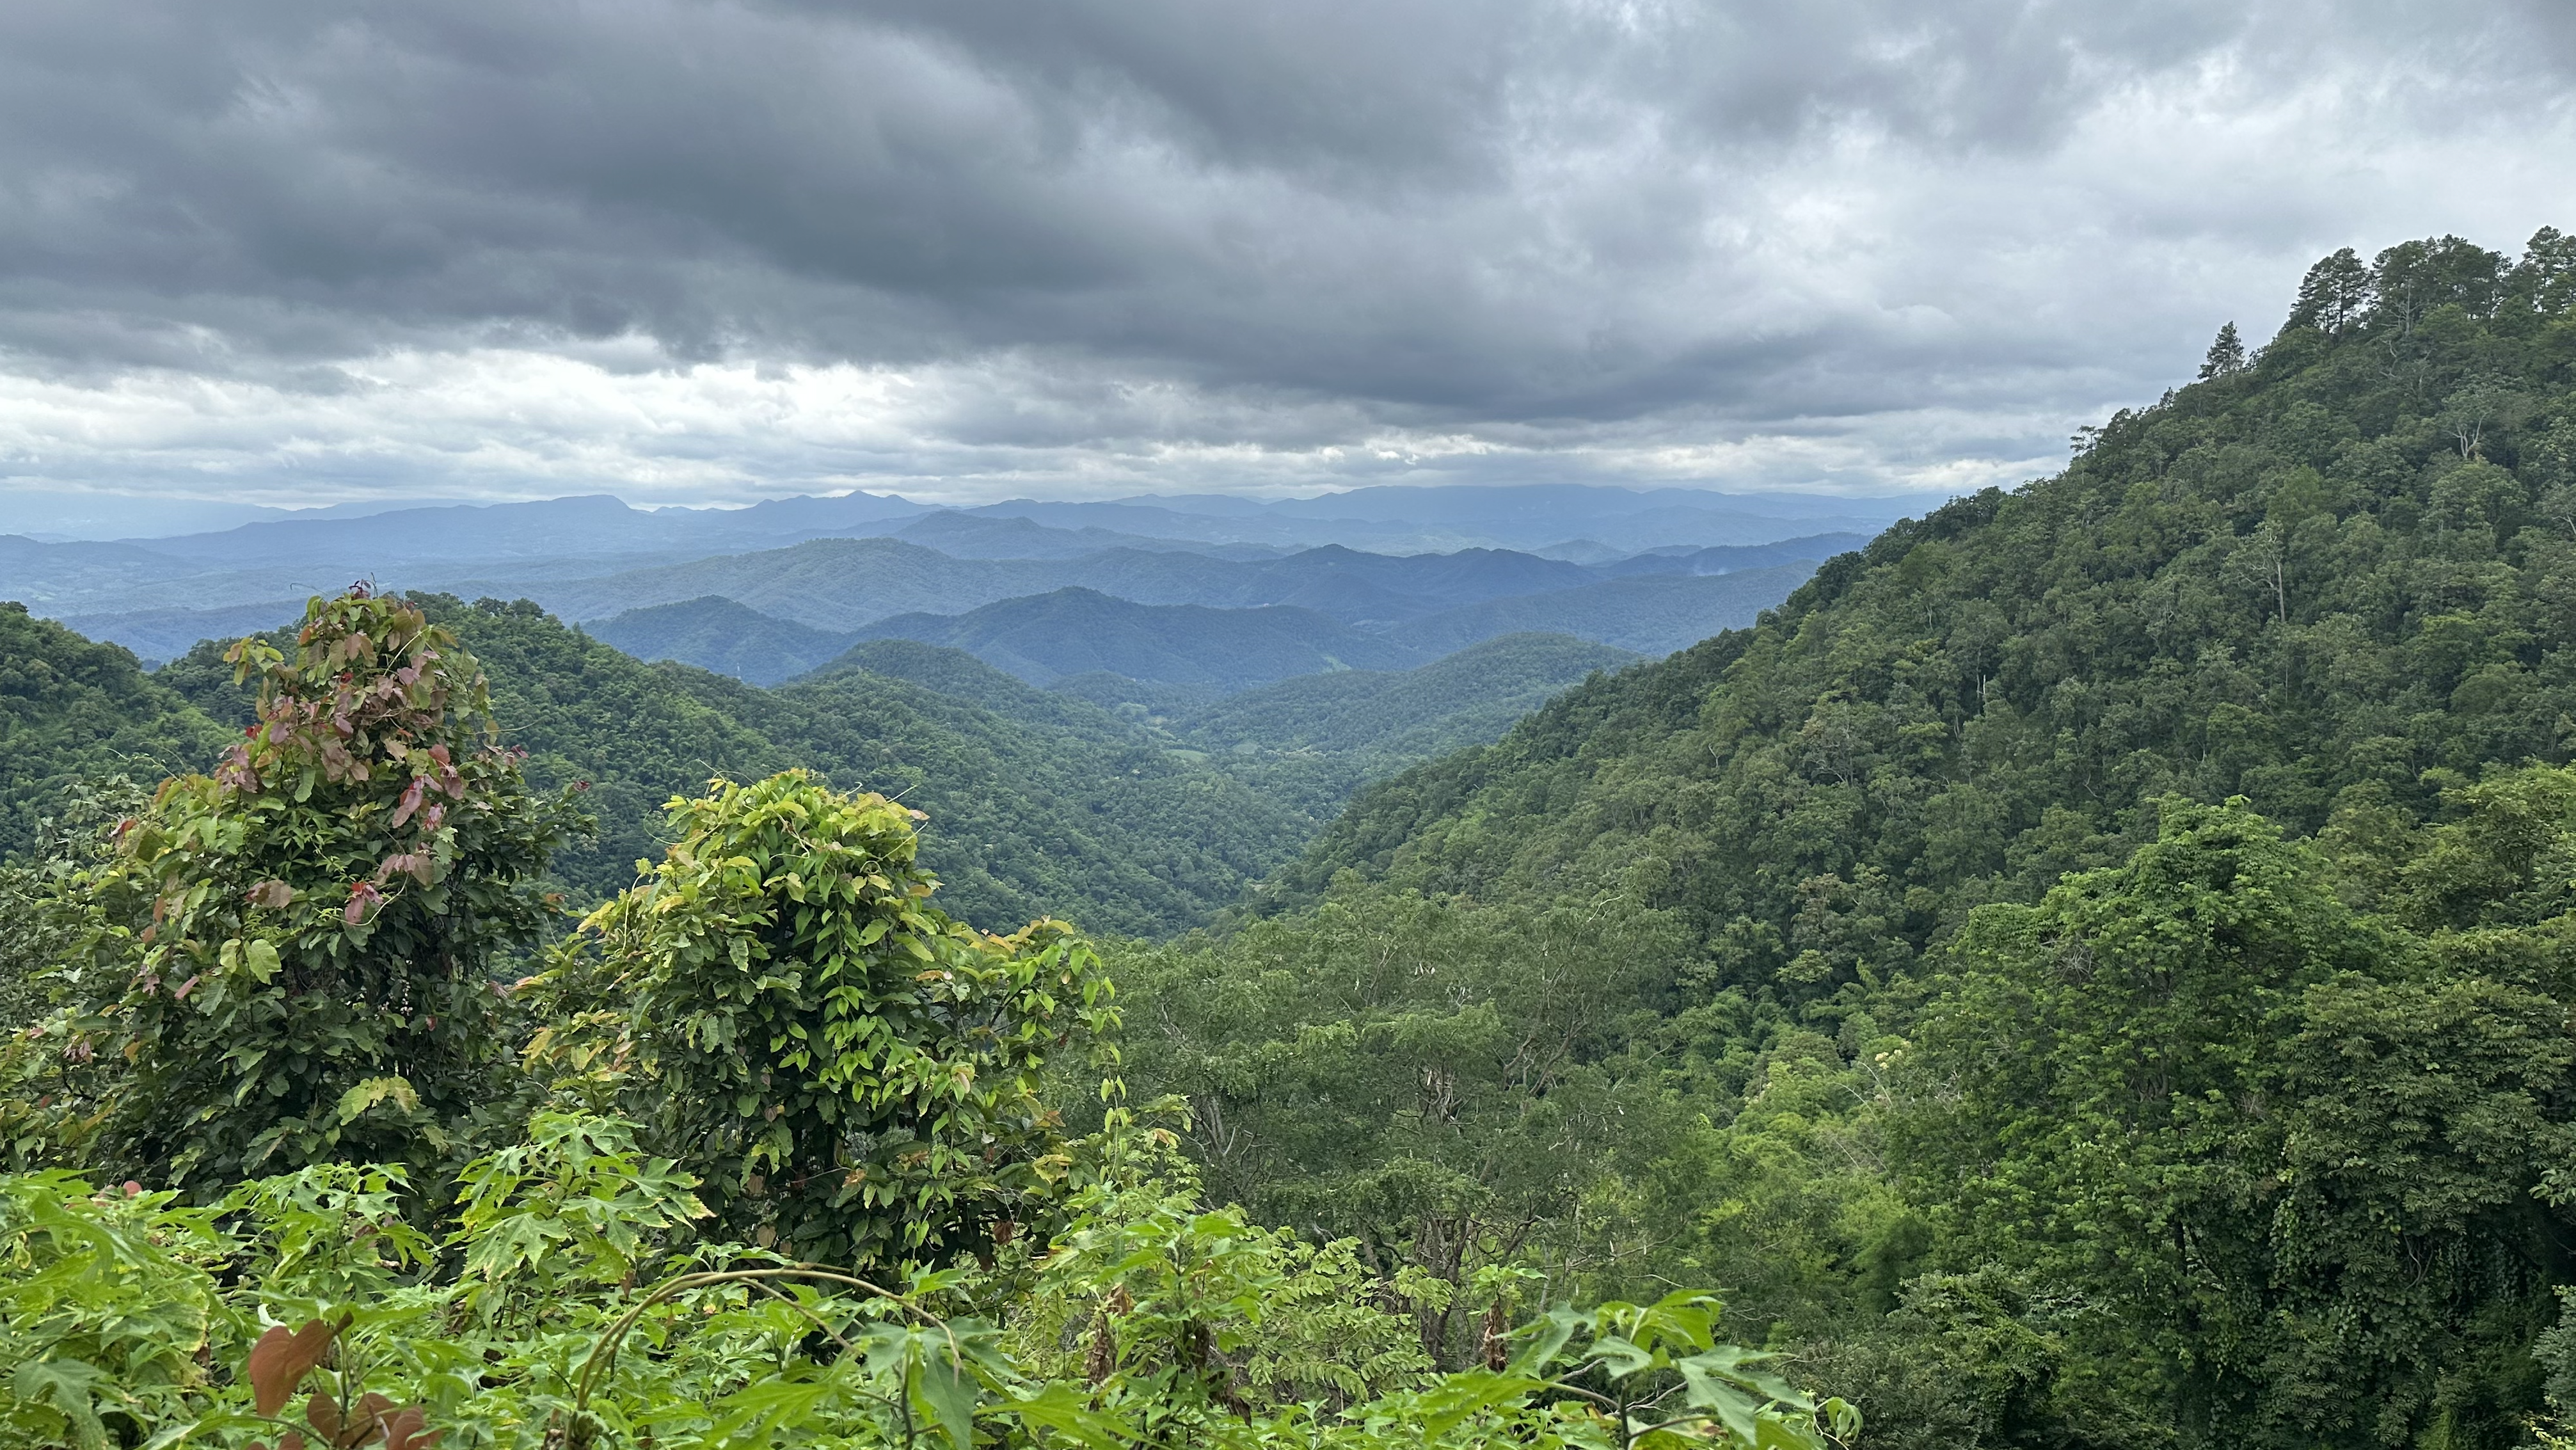
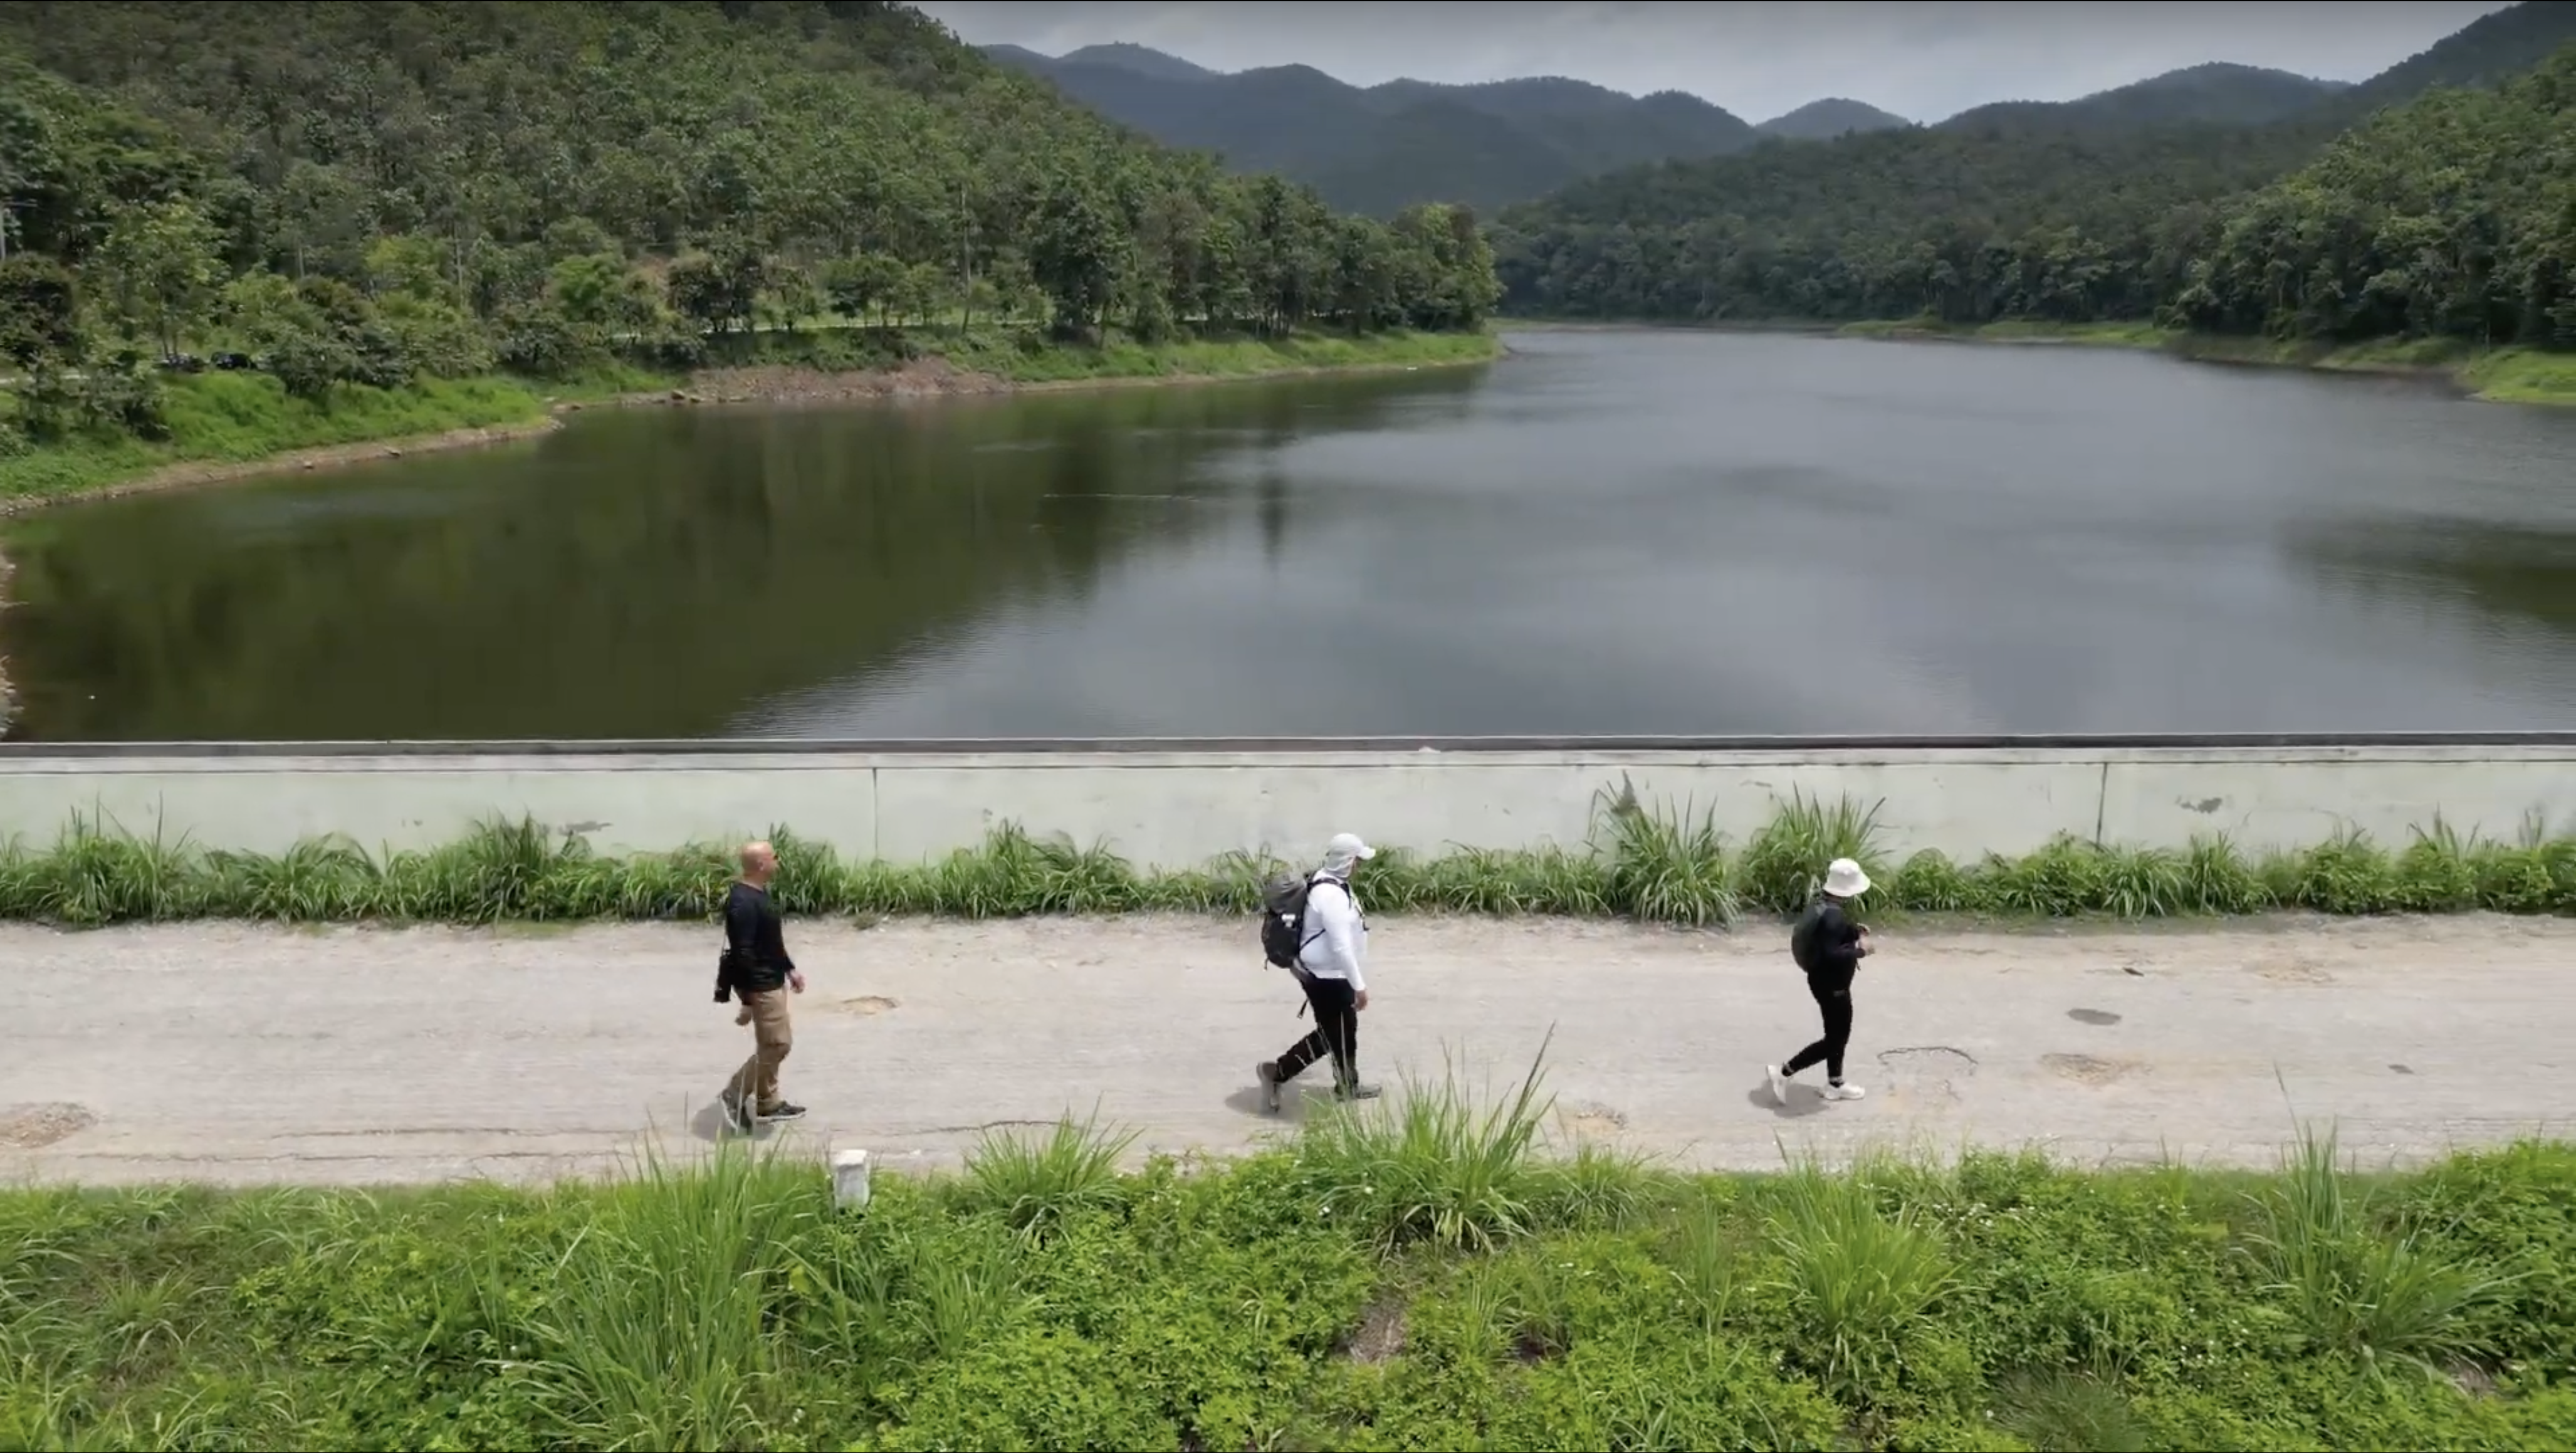
Huai Choi Reservoir, Chiang Mai, Thailand
The Evolution of Travel Videography
Travel videography, once dominated by hefty equipment, has undergone a major transformation.
With these in hand, I’ve revolutionized my approach to travel videography. Gone are the days when I’d be weighed down by heavy gear.
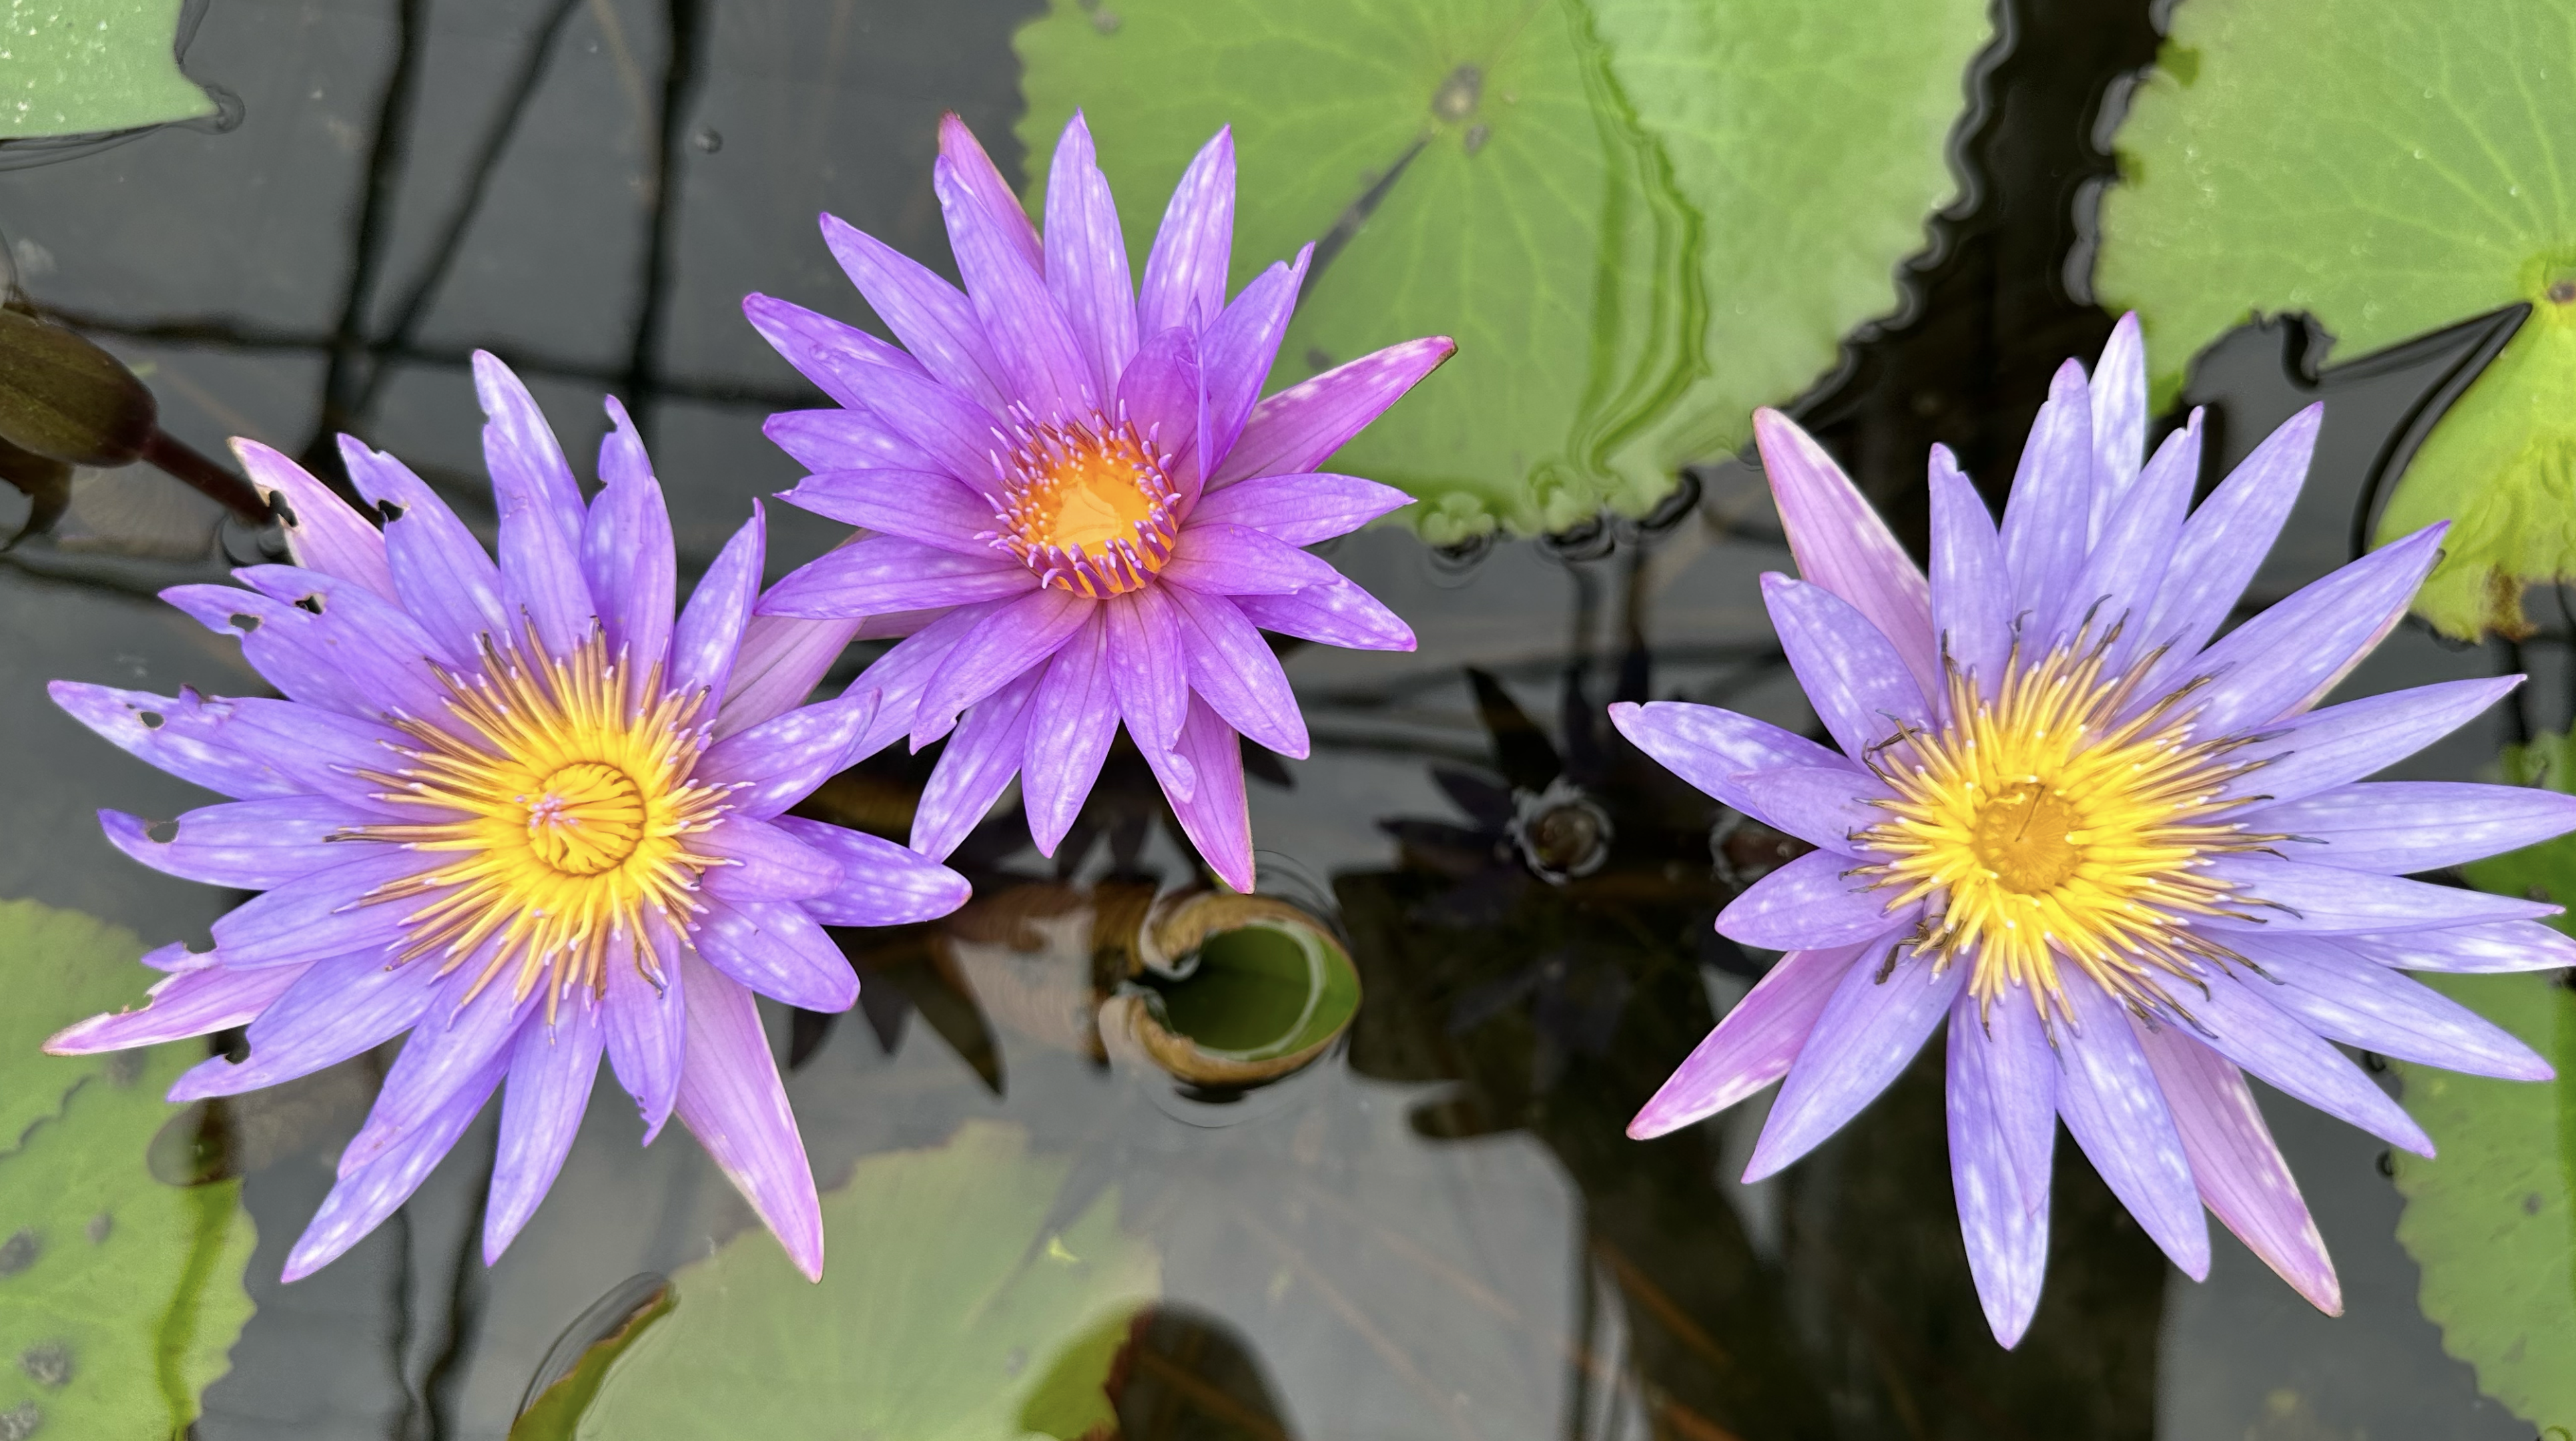
Now, I capture the essence of my travels with equipment that’s both lightweight and powerful. This minimalist setup hasn’t compromised quality; in fact, it’s enhanced my creativity.
It’s a blend of photos and videos, ground-level intimacy and aerial grandeur, all captured with tools that fit snugly in a small backpack.
This is the future of travel videography for me: traveling light, yet filming with impact.
The Power of the Smartphone
My journey into travel videography as a digital nomad was transformed by the smartphone.
Once just a device for calls and texts, it’s now my go-to for capturing memories. The power it holds is astounding. Especially these days.
From navigating unfamiliar streets to translating foreign menus, it’s my constant companion.
The advancements in smartphone camera technology have been a game-changer for me.
I remember the early days of pixelated images, but now, my phone captures moments in stunning 4K resolution. 60 fps.
Low-light shots, once a challenge, are now effortlessly clear and vibrant. With features like optical stabilization and AI-driven modes, every video and photo I take, whether planned or spontaneous, has a professional touch.
My smartphone isn’t just a communication tool; it’s my gateway to sharing my travels to amazing digital nomad countries with my friends and with the world.
Tips for Capturing High-Quality Footage
- Use a Gimbal: For smartphones and small cameras, a gimbal provides smooth motion, eliminating shaky footage.
- Lean on Stable Surfaces: If without a tripod, lean against a wall or tree to stabilize your shot.
- Slow and Steady Movements: When panning or tilting, move slowly to maintain smooth transitions.
- Golden Hour Magic: Shoot during the golden hours—just after sunrise or before sunset—for soft, natural lighting.
- Rule of Thirds: Position key elements off-center, using the grid lines on your camera as a guide.
- Leading Lines: Use natural lines, like roads or rivers, to lead the viewer’s eye into the frame.
- Play with Perspectives: Don’t just shoot from eye level. Try low angles or high vantage points for a fresh view.
- Foreground Interest: Add elements in the foreground to give depth and layers to your shots.
- Frame within a Frame: Use natural frames, like windows or archways, to draw attention to your subject.
Drones: A Bird’s Eye View
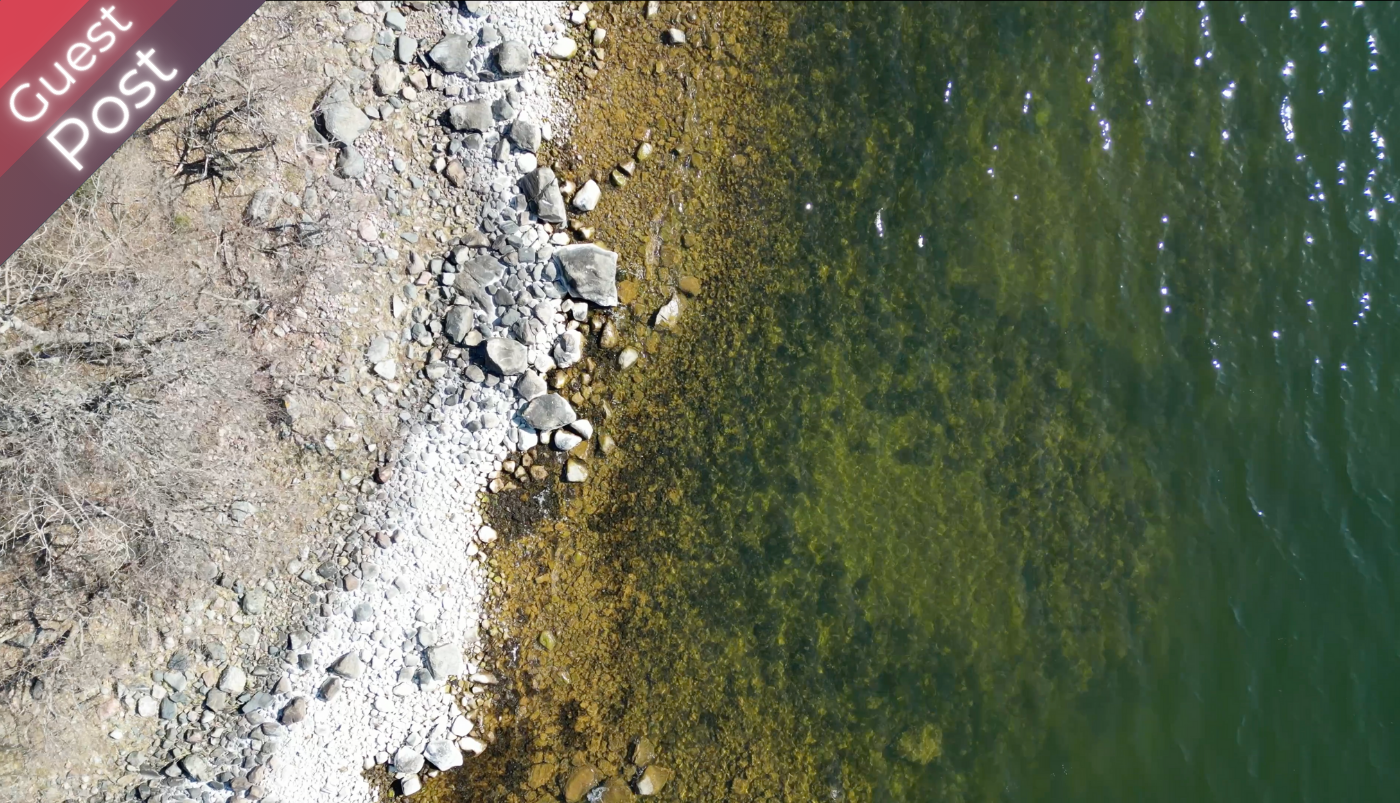
Drones revolutionized my travel videography, offering a bird’s-eye perspective previously unattainable.
These flying cameras capture sweeping landscapes, dramatic skylines, and intricate top-down patterns.
For me, drone videography opened a new dimension, turning familiar scenes into breathtaking cinematic masterpieces from the skies.
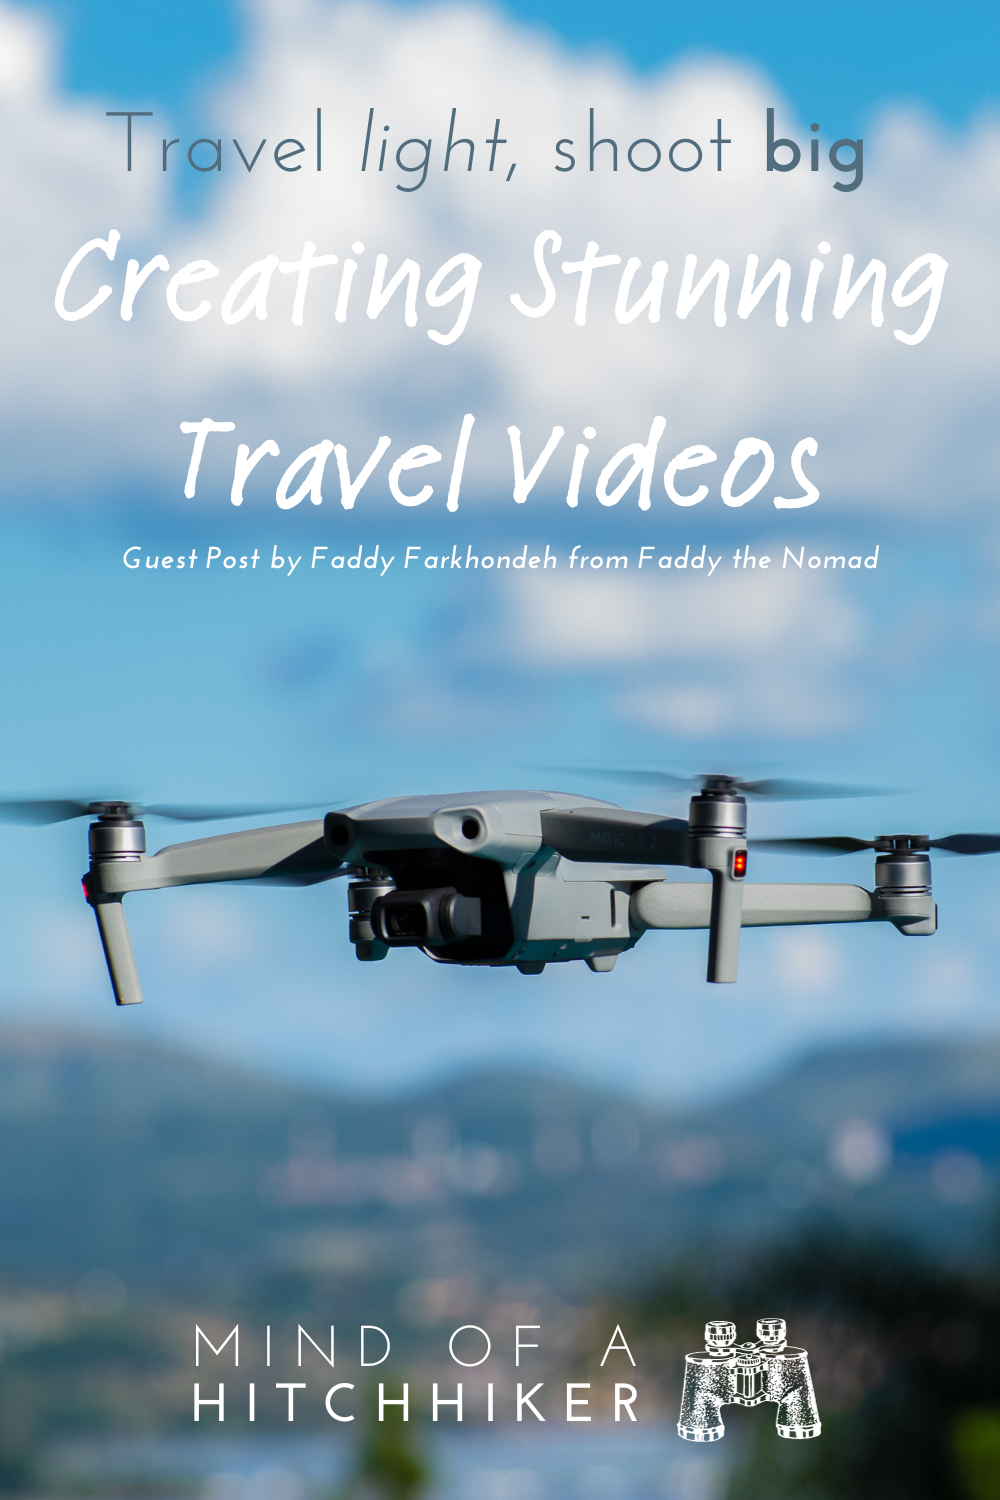
DJI Mini Pro 3
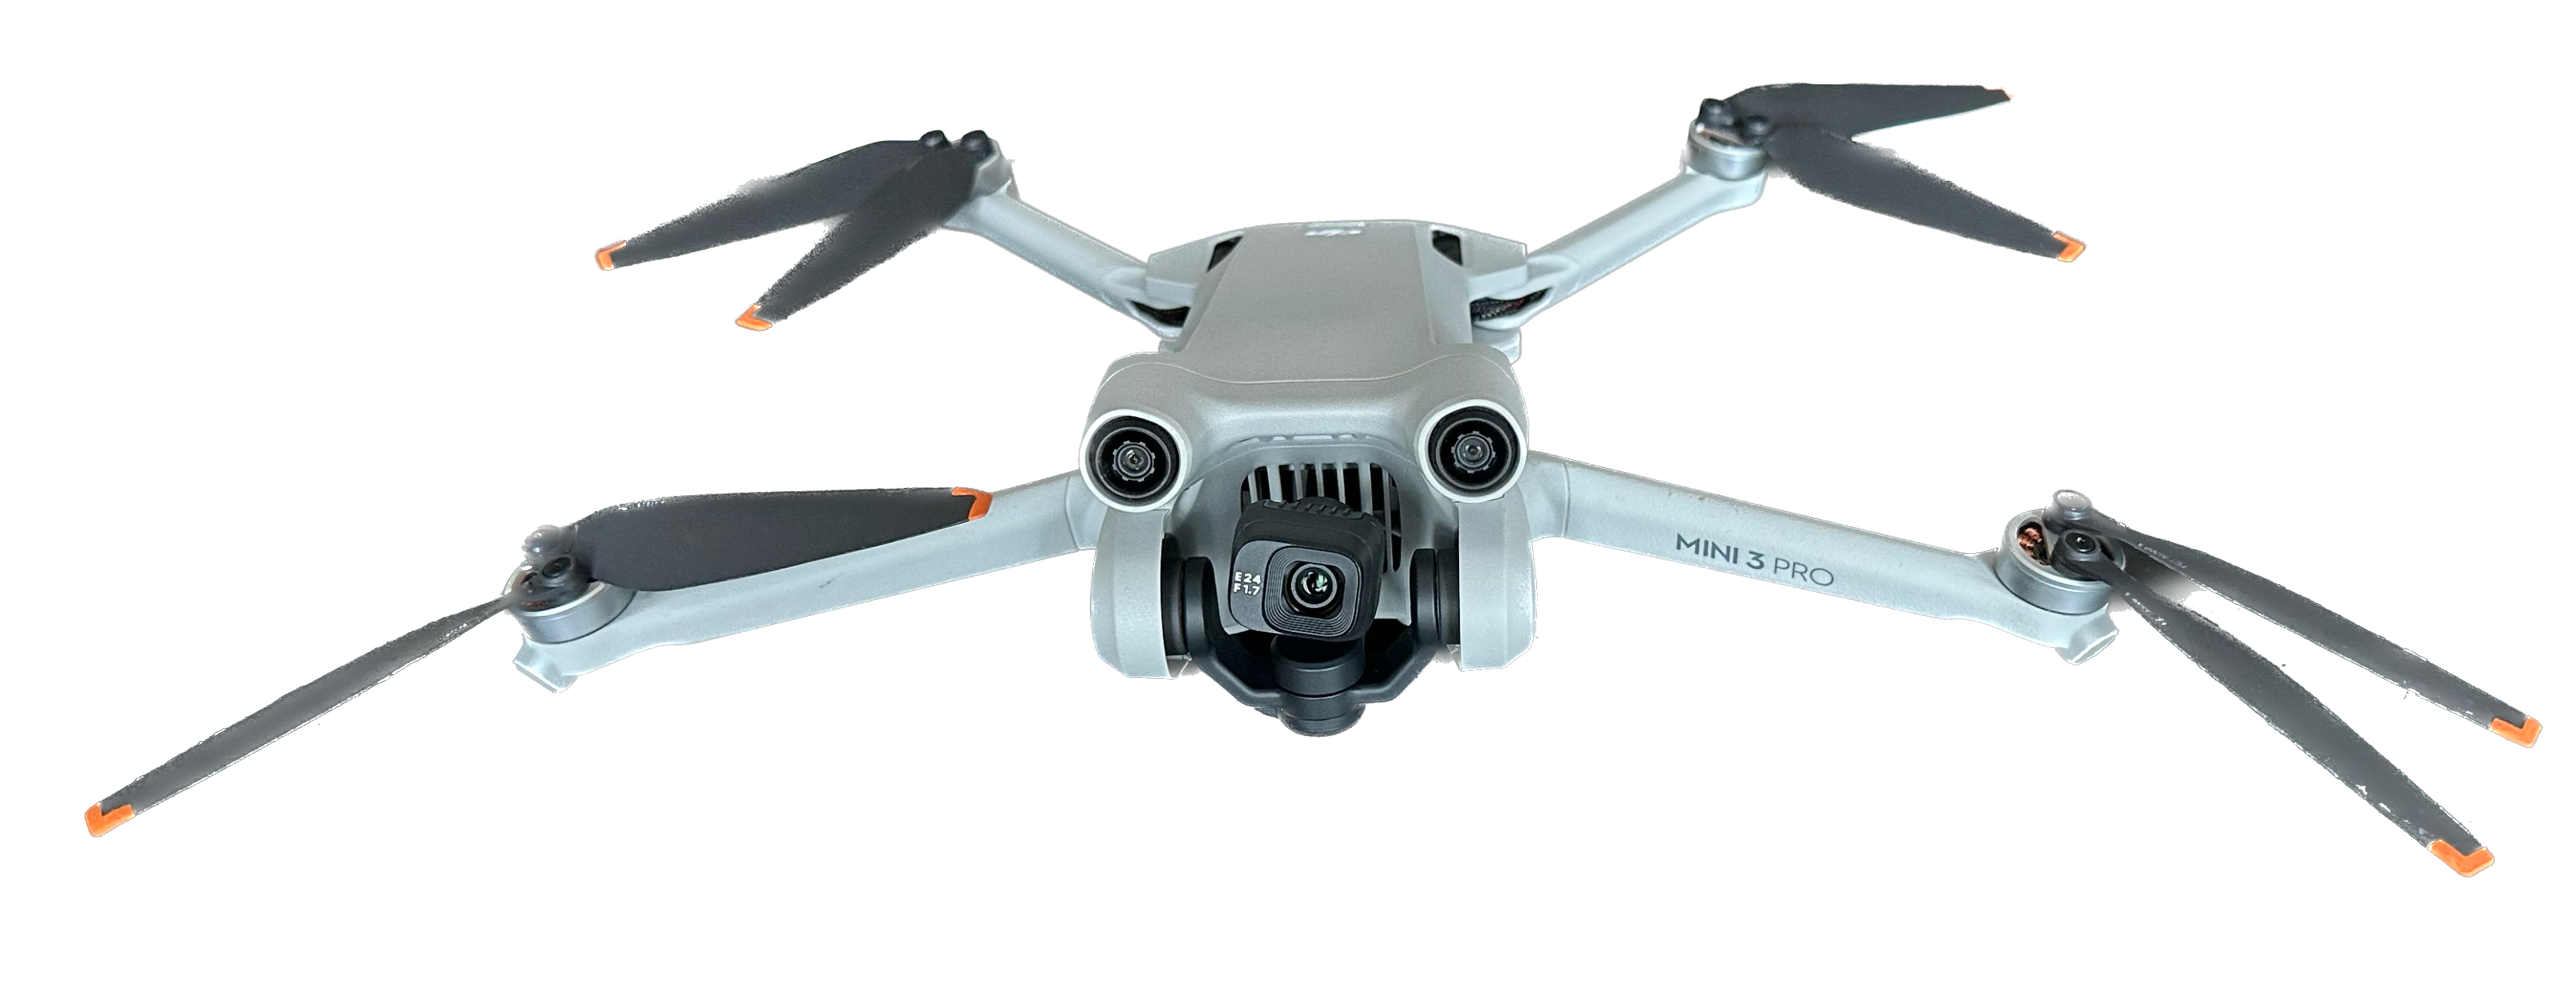
The drone I use is the DJI Mini Pro 3. I chose this after extensive research. For me, the benefits of this drone are:
- Compact and Ultra-Lightweight: The DJI Mini Pro 3 is designed for adventure, weighing under 249 grams, making it easy to carry on travels.
- High-Quality Video: The drone captures detail-rich 4K HDR videos, ensuring stunning footage every time.
- True Vertical Shooting: This feature allows for social-media-optimized shots, adding versatility to your videography.
- QuickShots: With just a tap, you can capture advanced shots using modes like Dronie, Circle, Helix, Rocket, and Boomerang.
- Strong Wind Resistance: The DJI Mini Pro 3 can withstand wind speeds up to 10.7 m/s, ensuring steady control in various flight environments.
- Advanced Crash Detection Sensors: The DJI Mini Pro 3 is equipped with state-of-the-art sensors that detect obstacles in real-time. These sensors ensure safer flights by preventing potential collisions, giving pilots peace of mind even in challenging terrains or tight spaces. This feature not only protects the drone but also ensures the safety of the surroundings.
Safety and Legal Considerations
Navigating the world of drone videography requires more than just skill; it demands awareness of safety and legal considerations.
It’s crucial to respect privacy, avoid restricted zones, and always maintain line of sight.
Staying updated on local regulations ensures responsible flying and protects both pilots and bystanders.
Tips for Aerial Shots
The DJI Mini Pro 3, with its advanced features, is a game-changer for aerial videography. To harness its full potential, consider:
- Utilize QuickShots: Make the most of the DJI Mini Pro 3’s QuickShots feature for professional-looking shots like Dronie and Helix without manual maneuvering.
- Adjust Camera Settings: Fine-tune the camera’s ISO and shutter speed for optimal lighting, especially during golden hours.
- Explore Panorama Modes: Use the Wide Angle and Sphere modes to capture expansive landscapes.
- Plan Flight Paths: Pre-plan routes using waypoints to ensure smooth, cinematic movements.
- Tracking Modes: The drone has a tracking mode where you select a person or object, and then the drone seamlessly follows that object, avoiding any obstacles with its fantastic object detection sensors
Editing: Bringing It All Together
Telling a story
Editing footage is more than just piecing together clips; it’s a journey of storytelling.
For me, this isn’t a professional endeavor but a deeply personal one.
Each frame, each transition, is a cherished memory I want to relive.
It’s about crafting tales from travels, experiences, and moments that have left an indelible mark on my heart.
Overview of editing software
The 4 big ones that people use today are:
- iMovie (free, MacOS)
- Final Cut Pro (paid, MacOS)
- Adobe Premiere (paid, MacOS and Windows)
- DaVinci Resolve (free and paid, MacOS, Linux and Windows)
I personally recommend iMovie if you’re starting out, or Final Cut Pro if you’re getting more serious.
Music Choice
But what truly drives my edits is music. I always start with the music.
When I want to create a video, I quickly skim through all the clips and photos I’ve taken, to get a feeling for what kind of story I want to tell.
Then the music selection usually just comes to me.
It’s the soul of my videos. The rhythm, the beats, they’re not just background noise; they’re the pulse of my narrative. I meticulously time transitions to beat drops, aligning clips with tempo changes to evoke emotions and heighten moments.
Merging phone and drone footage
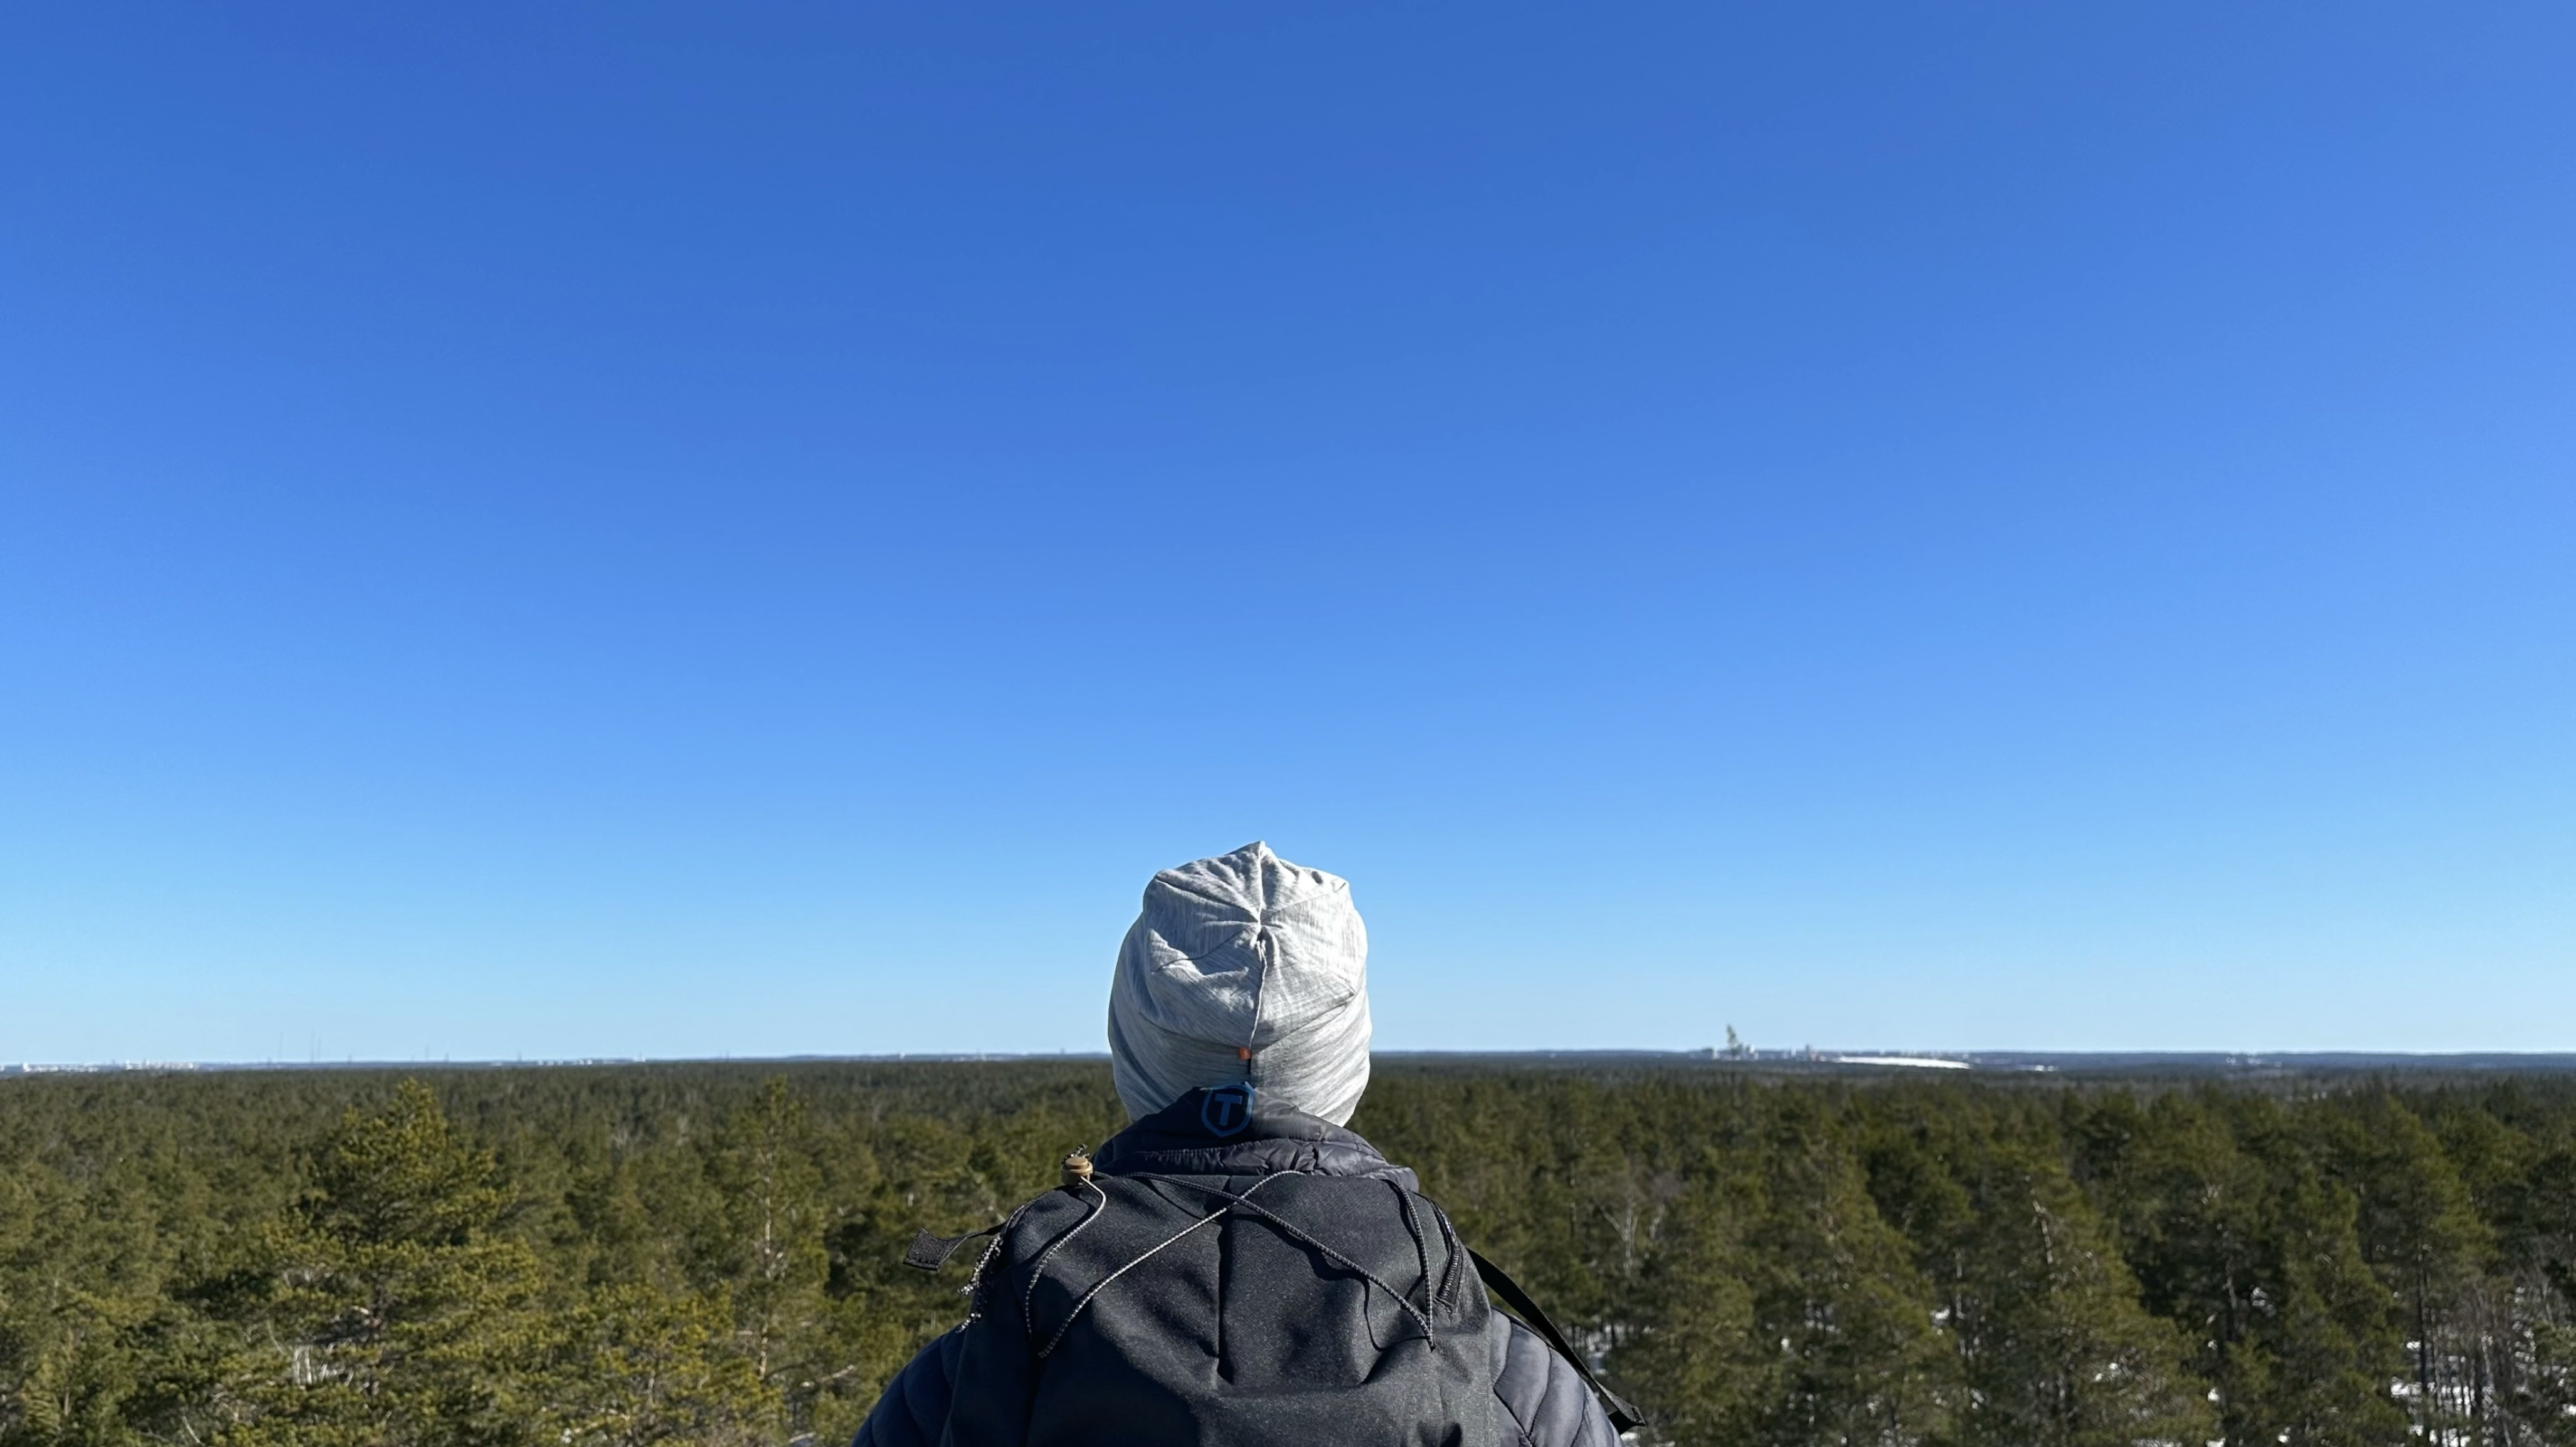
Merging phone and drone footage adds layers to my story.
The intimate, close-up shots from my phone juxtapose beautifully against the vast, panoramic views from my drone.
Together, they create a cinematic tapestry that’s a testament to my journey, my memories.
Conclusion
In the realm of travel videography, less truly is more.
Embracing a minimalist approach doesn’t mean compromising on quality; it’s about maximizing experiences while minimizing burdens.
With tools like smartphones and compact drones, we can capture the world without being weighed down.
As you embark on your next adventure, I challenge you: travel light, shoot big.
Peace.
Share this with your travel videography friends!
Thank you Faddy ‘the Nomad’ Farkhondeh for sharing his knowledge in this guest post.

I’m a digital nomad who’s made the vibrant city of Chiang Mai, Thailand, my current base. Like many of you, I was entranced by the allure of a location-independent lifestyle, and after years of dreaming, I took the leap into the digital nomad world.
Similar posts:
 Transitioning from Solo to Couple Travel: Bloggers Share Their Experiences
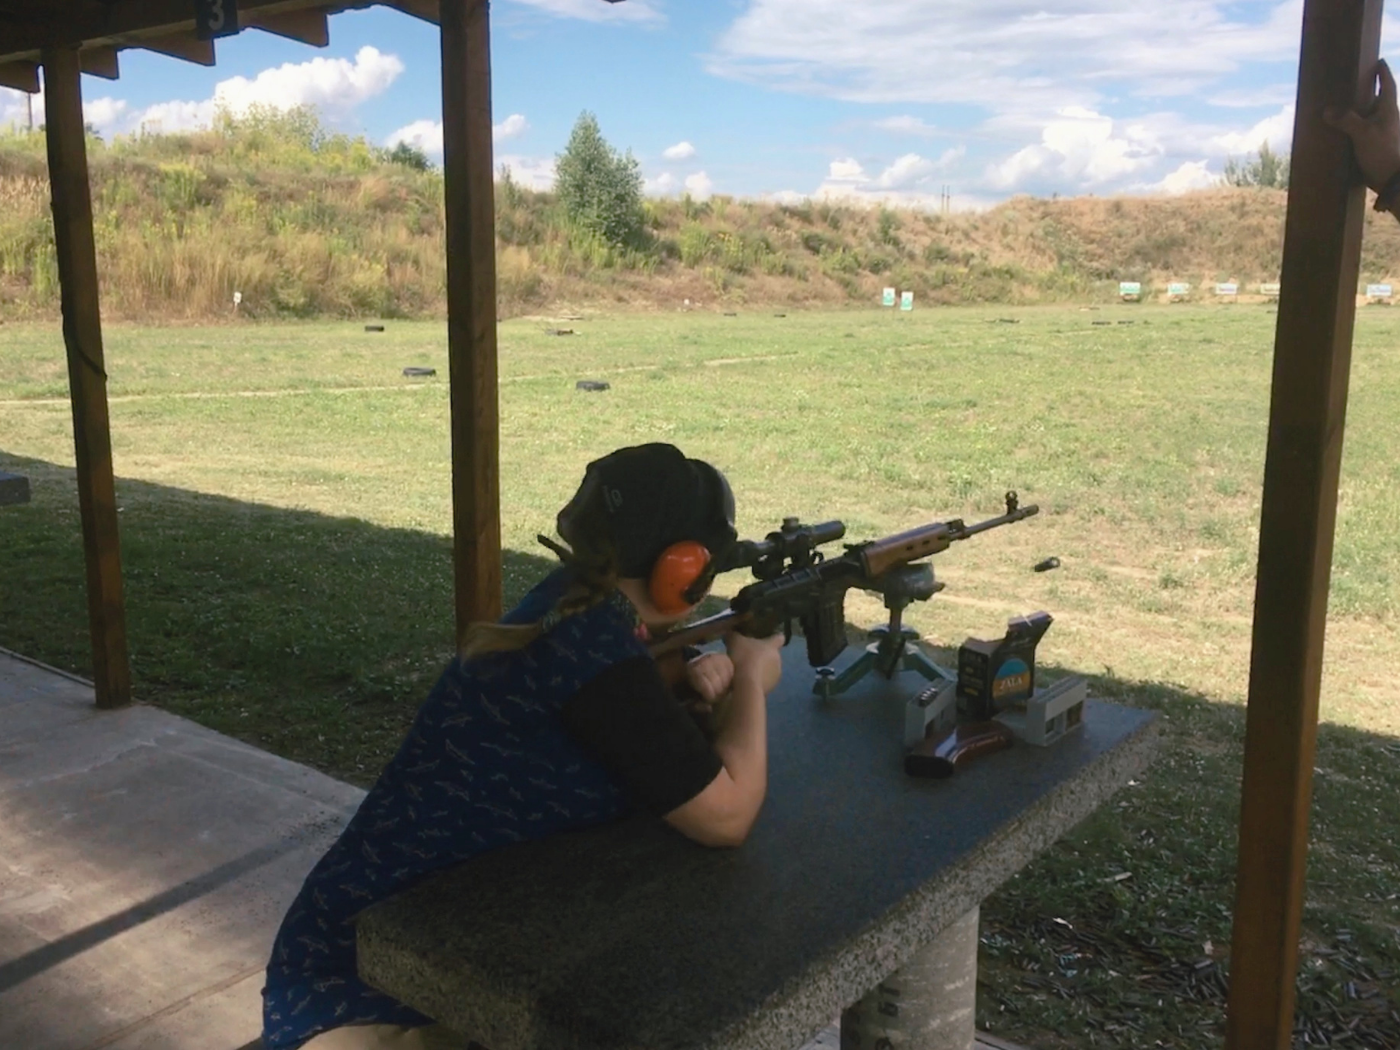 My First Time Shooting Guns: Glock 19, AK-47, Sniper Rifle, and Shotgun (Kyiv, Ukraine)
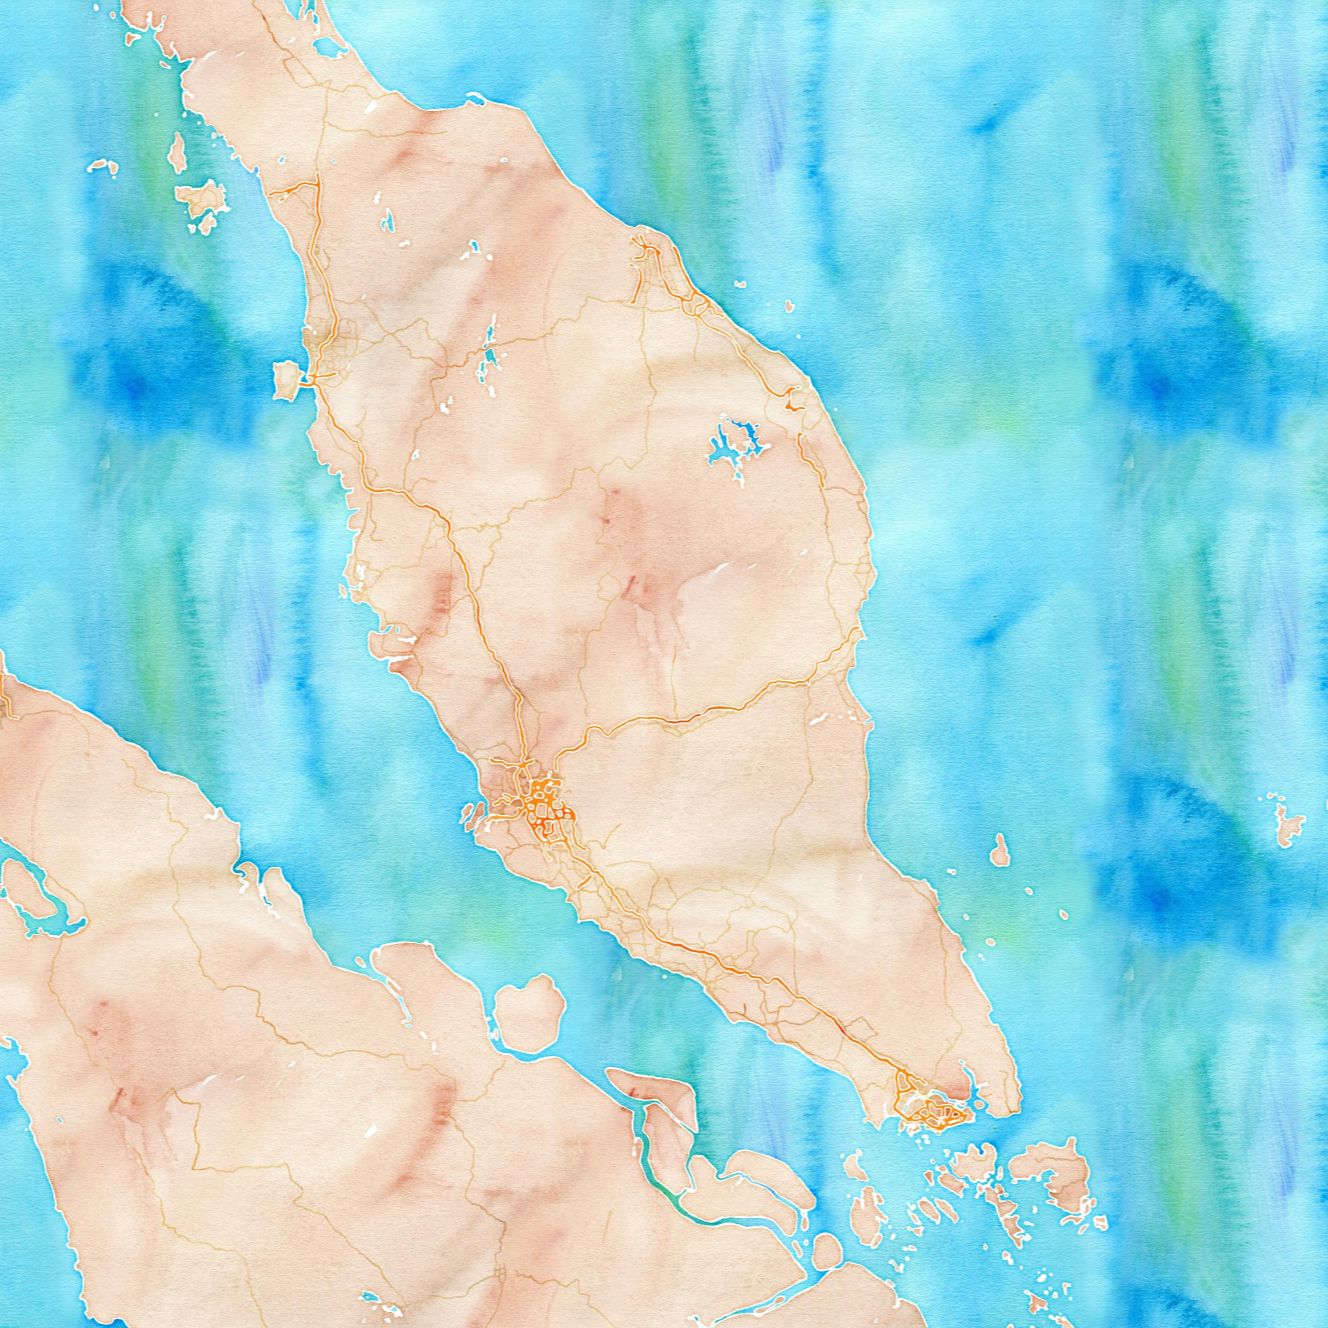 Traveling in Malaysia during the Pandemic (Another Heckin’ Diary)
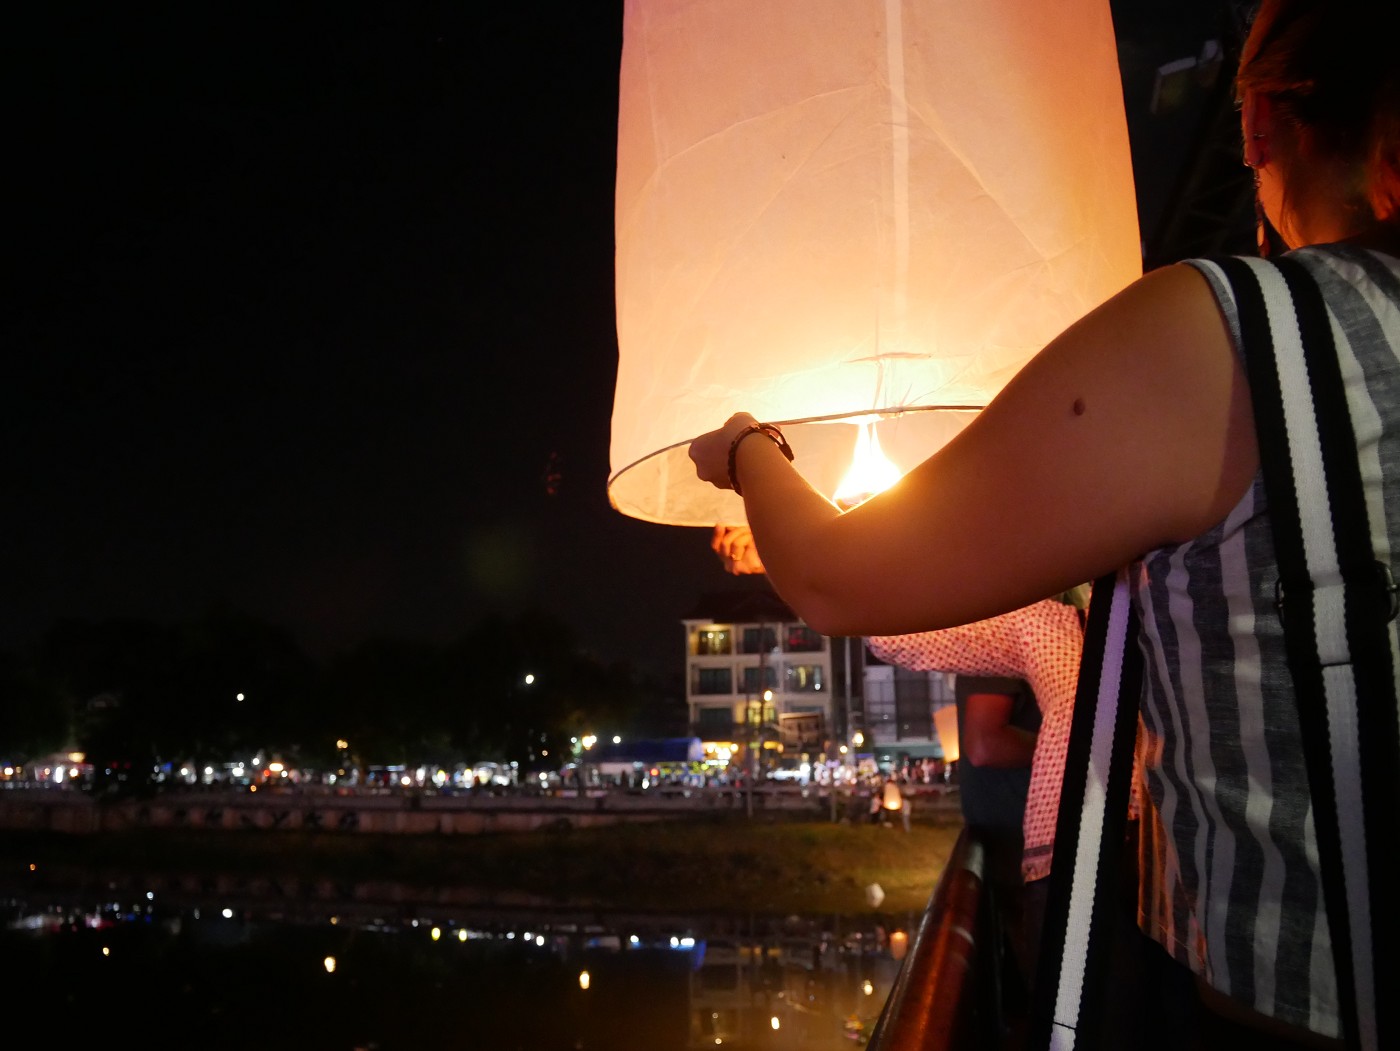 My 60-Day Stay in Chiang Mai, Thailand (I Just Don’t Get It)
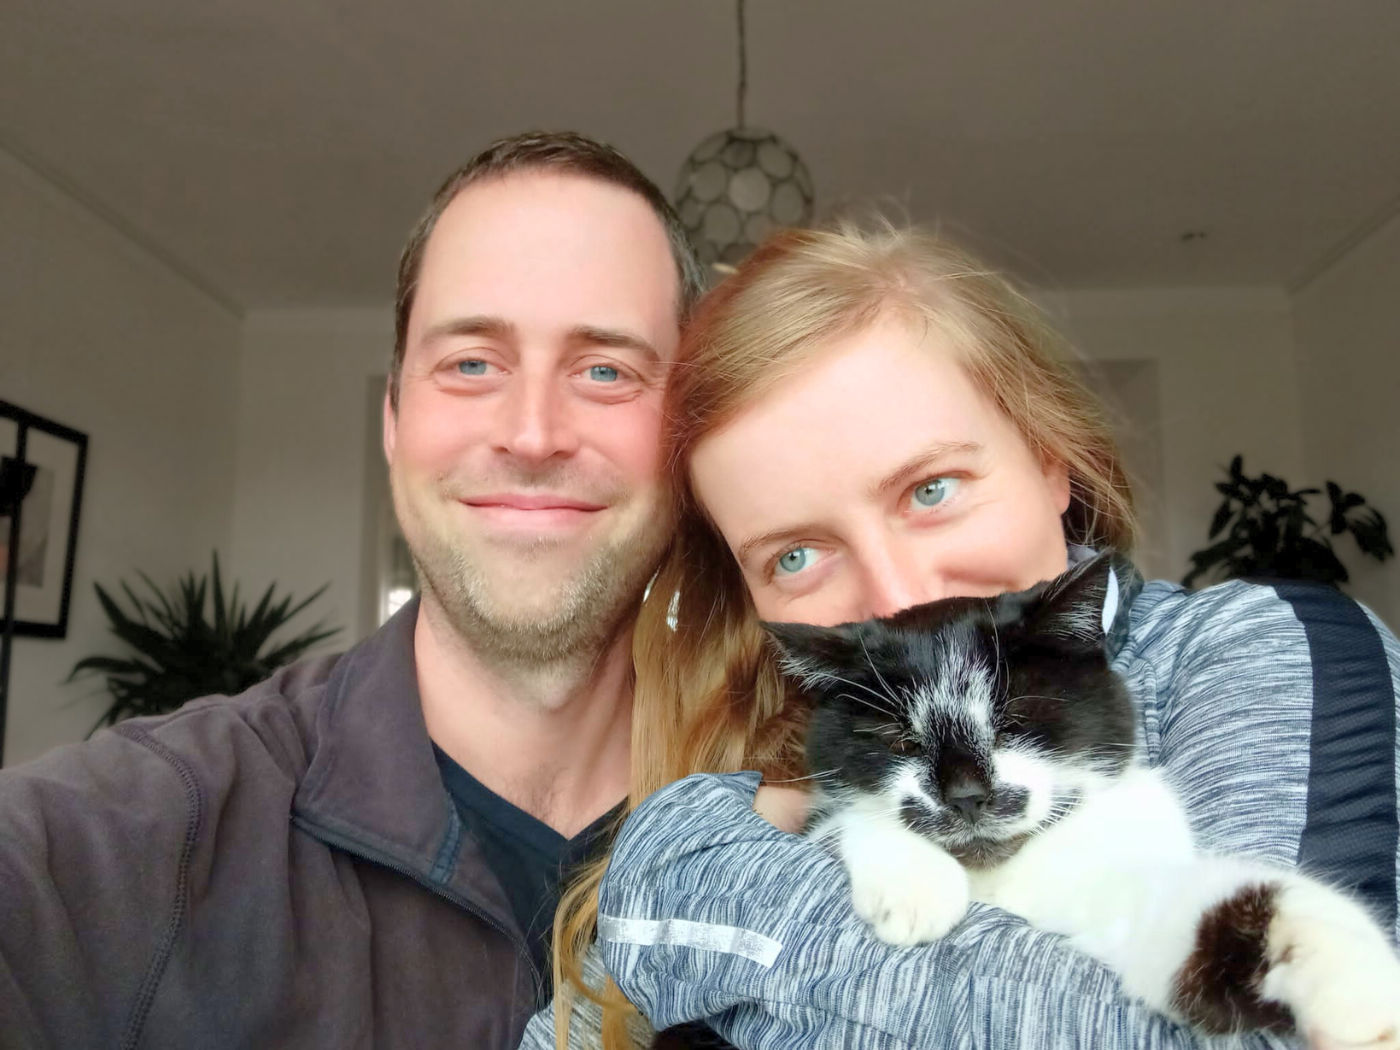 Why We Started Catsitting + How to Start Housesitting to Travel